Let's face the facts. A modular synthesizer is really expensive. The case price alone is what kills would be first timers. In this short tutorial I will show you and give you inspiration how to build your own modular case. It is time to share some of my knowledge and pass it on.
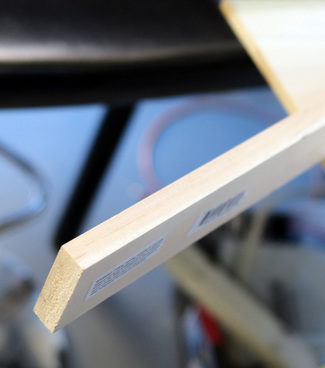
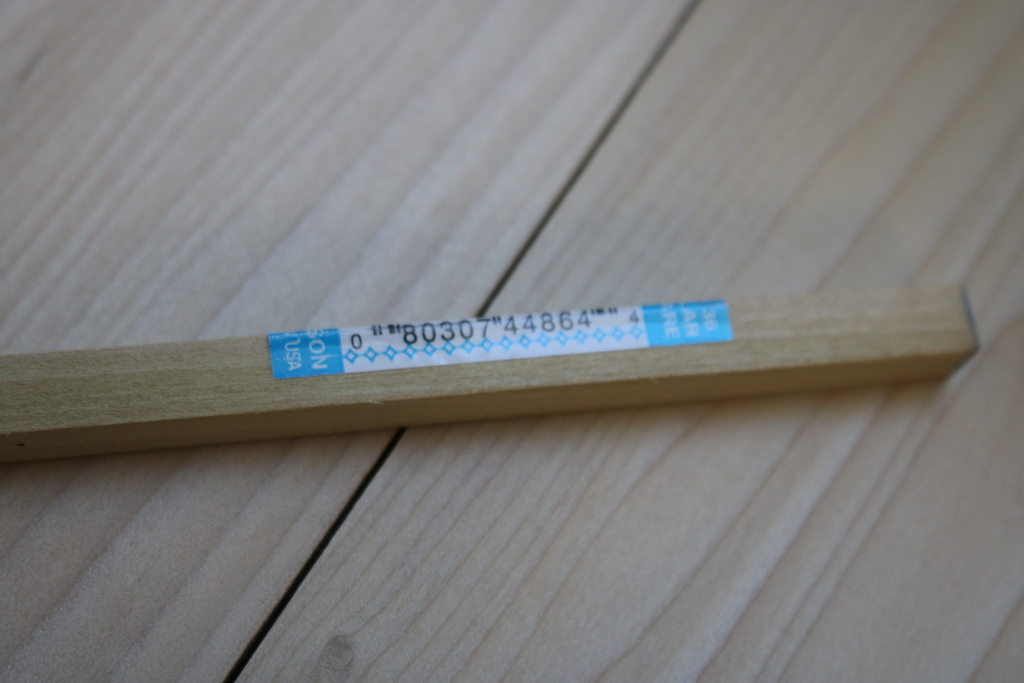
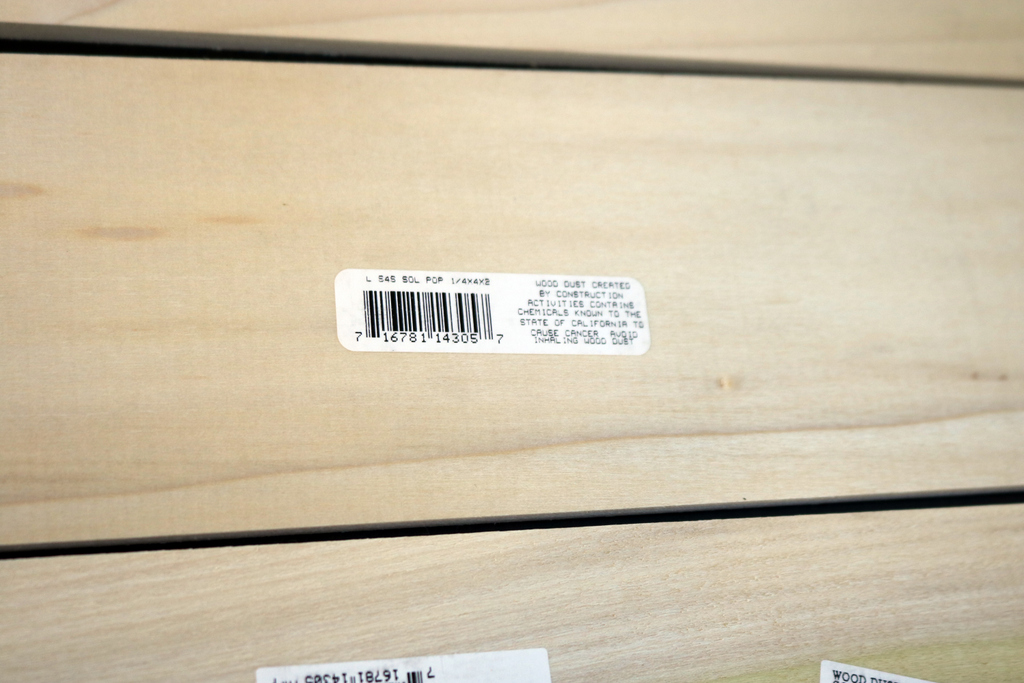
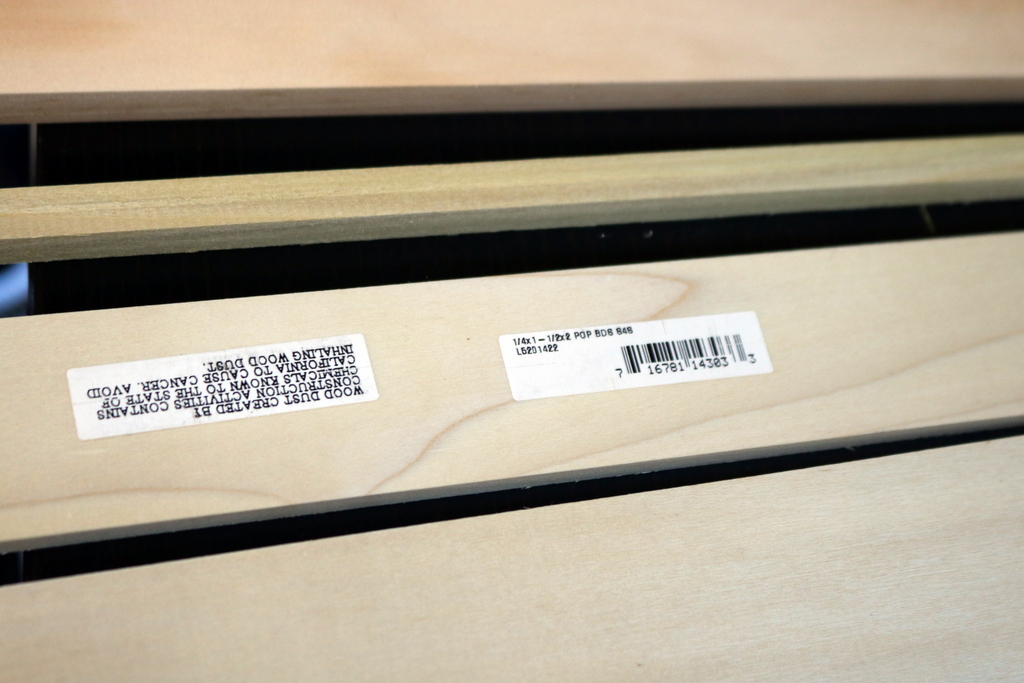
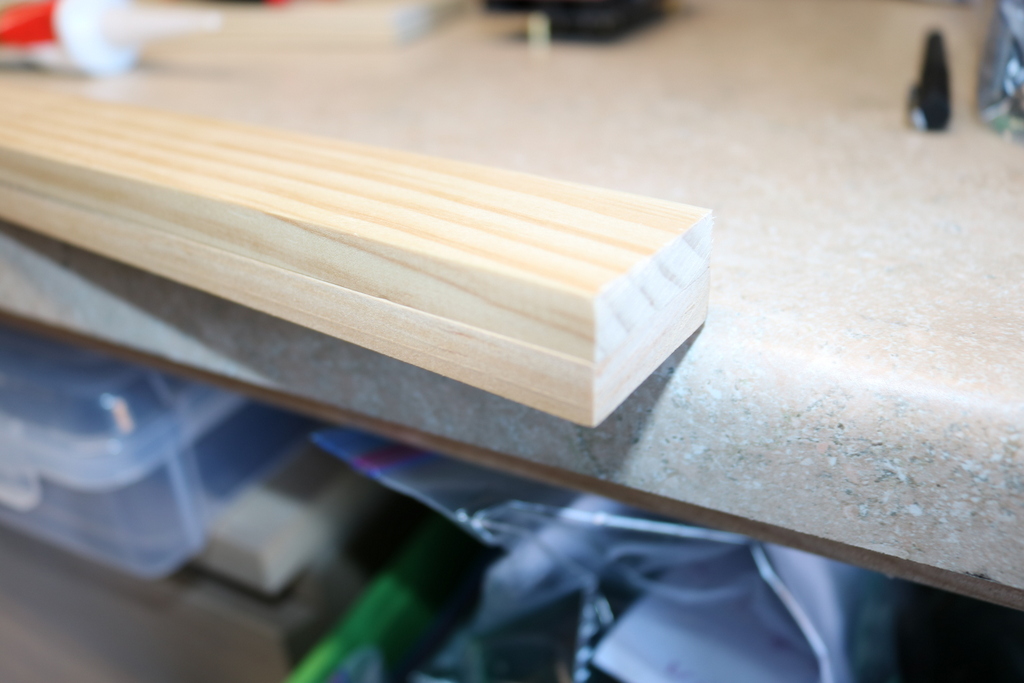
Your best friend is lowes hardware store. They have a hobby wood area where you can find wood rails that are very close to the width of metal Euro Format rails. They look like this. They are Pine.
Your best friend is lowes hardware store. They have a hobby wood area where you can find wood rails that are very close to the width of metal Euro Format rails. They look like this. They are Pine.
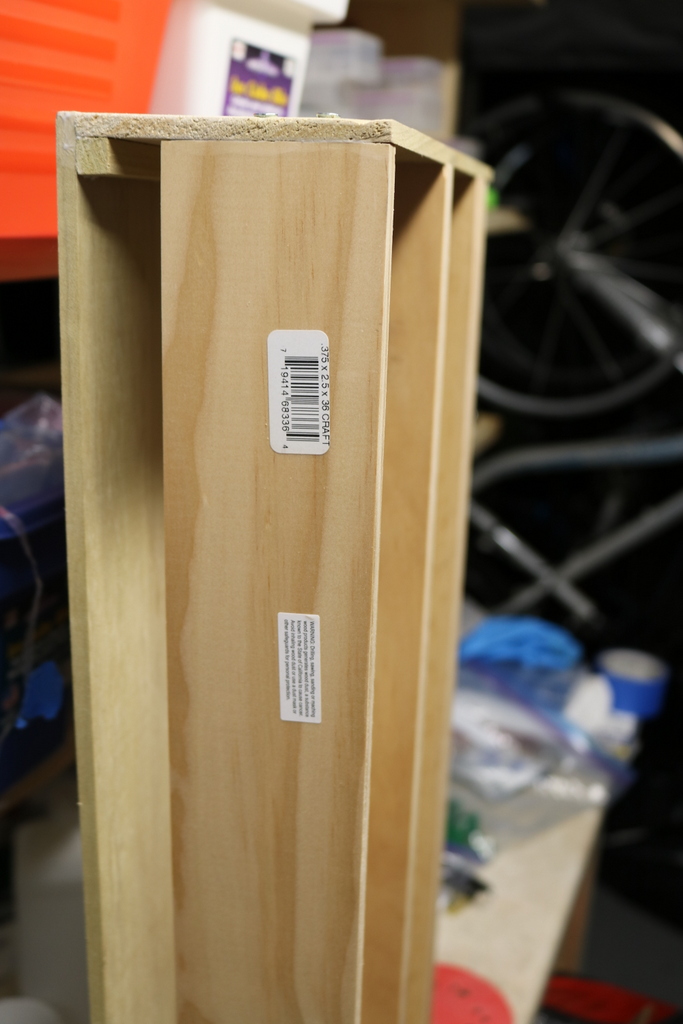
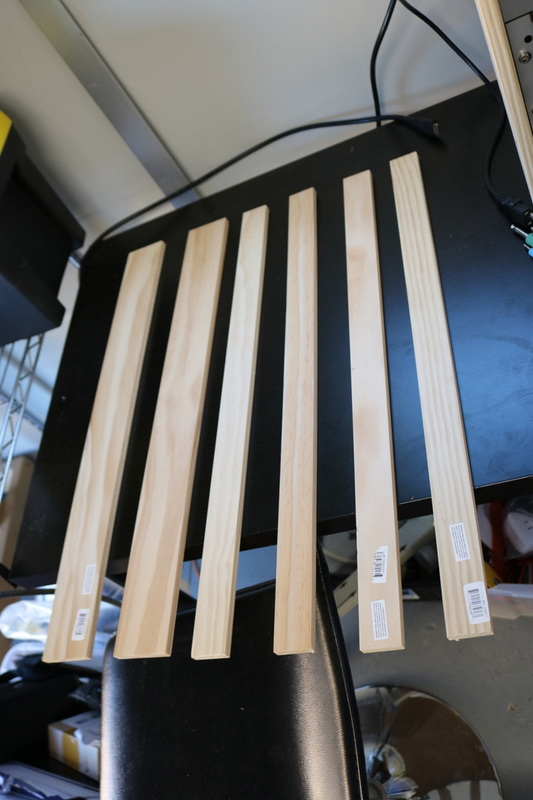
Here is a picture of what I purchased to make a 3U + 3U +1U system.

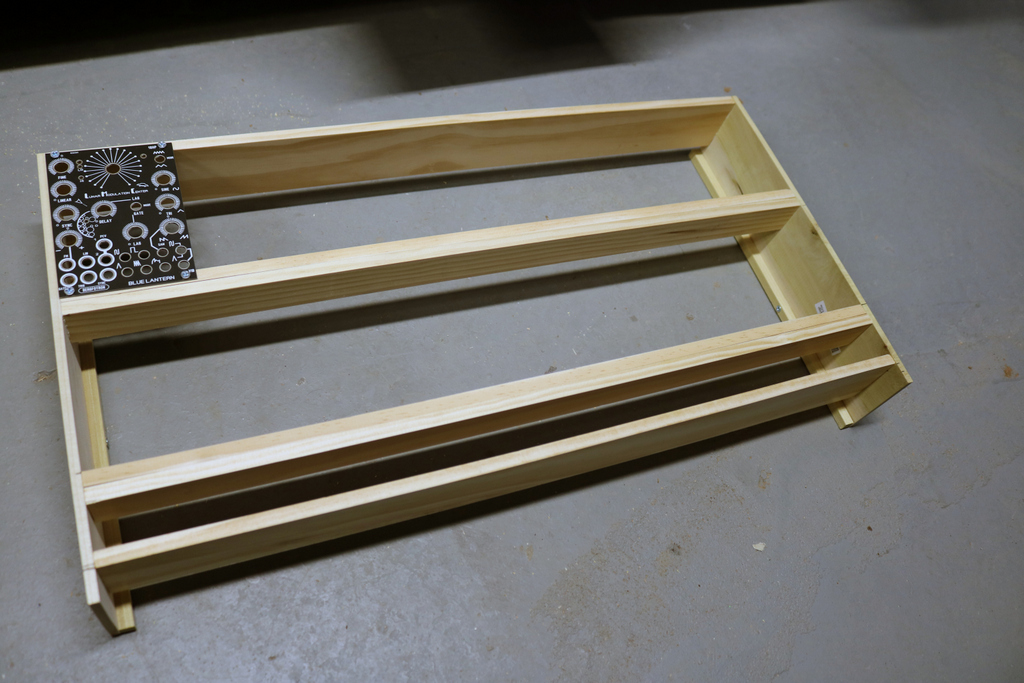
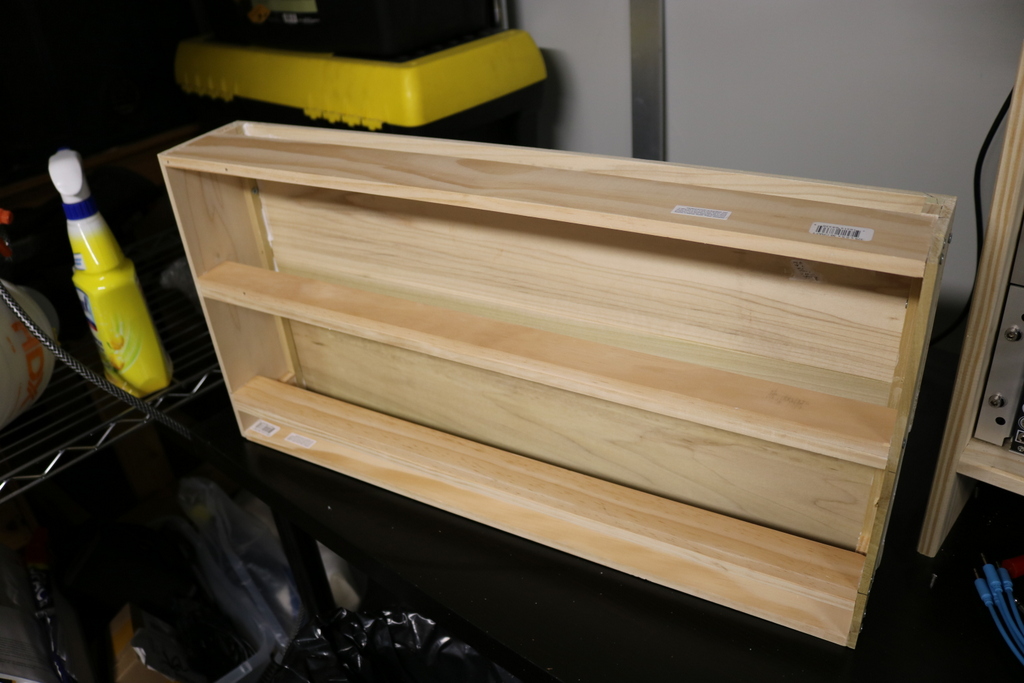
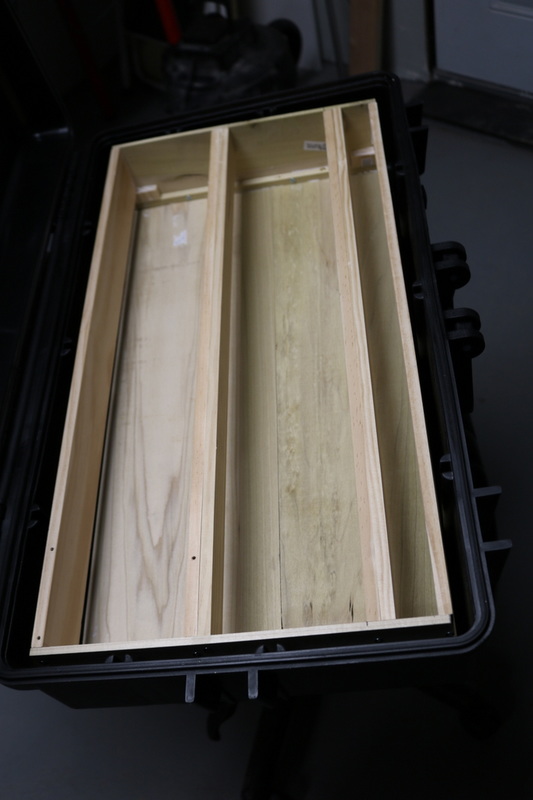
The wider pieces go on the outer edges to somewhat close the case I made. This is what I mean:

Here is a picture of the remaining wood I purchased. The height I was after was near 4 inches for the sides.
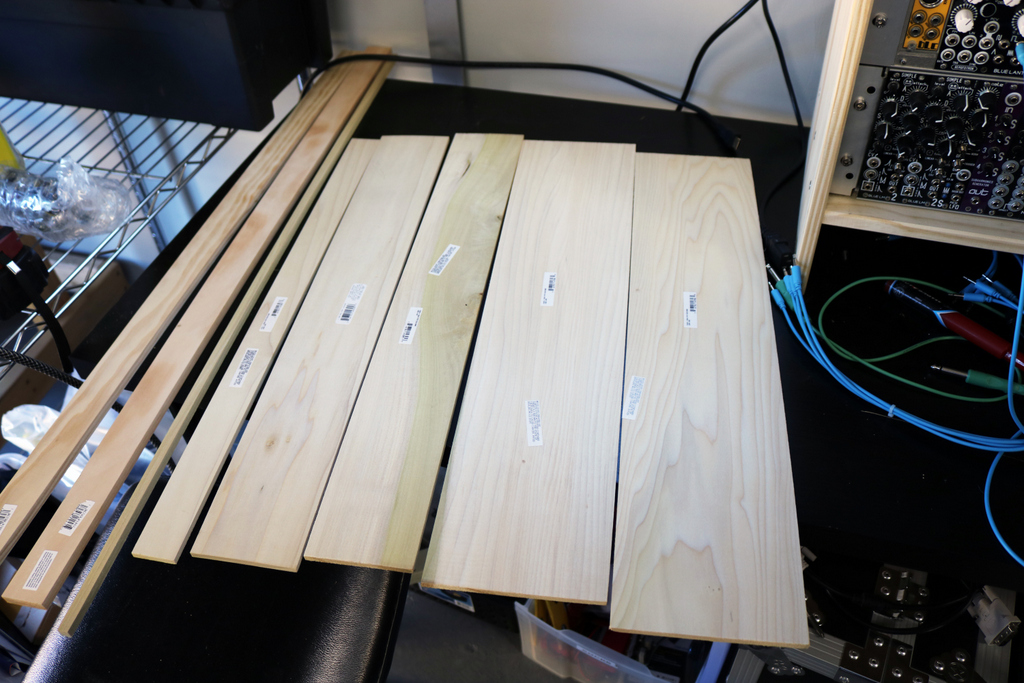
The wider pieces were used for the backboard. It is better to use and cut down a full piece of wood, but in this experiment I wanted to simulate the builder who has no power tools or table saw. So if this is you, the best thing to do is use these wide thin pieces to section off and use as back boards.
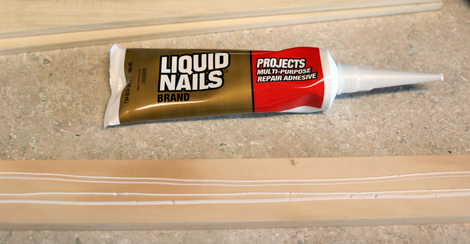
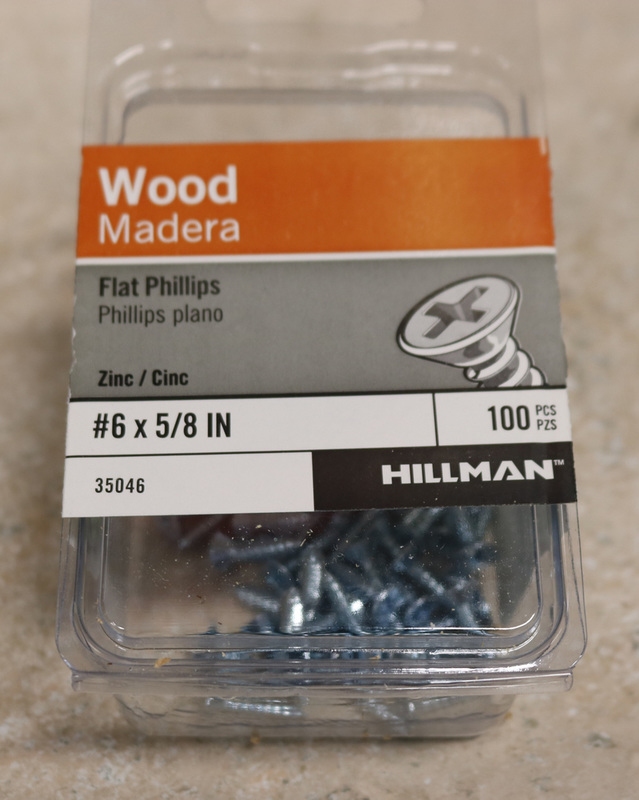
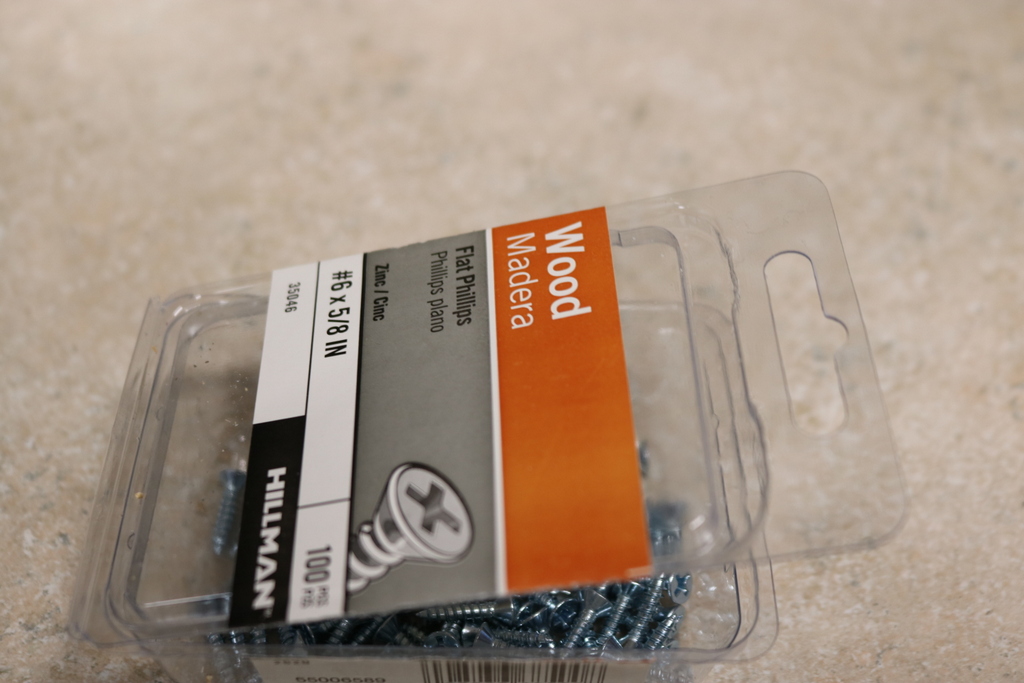
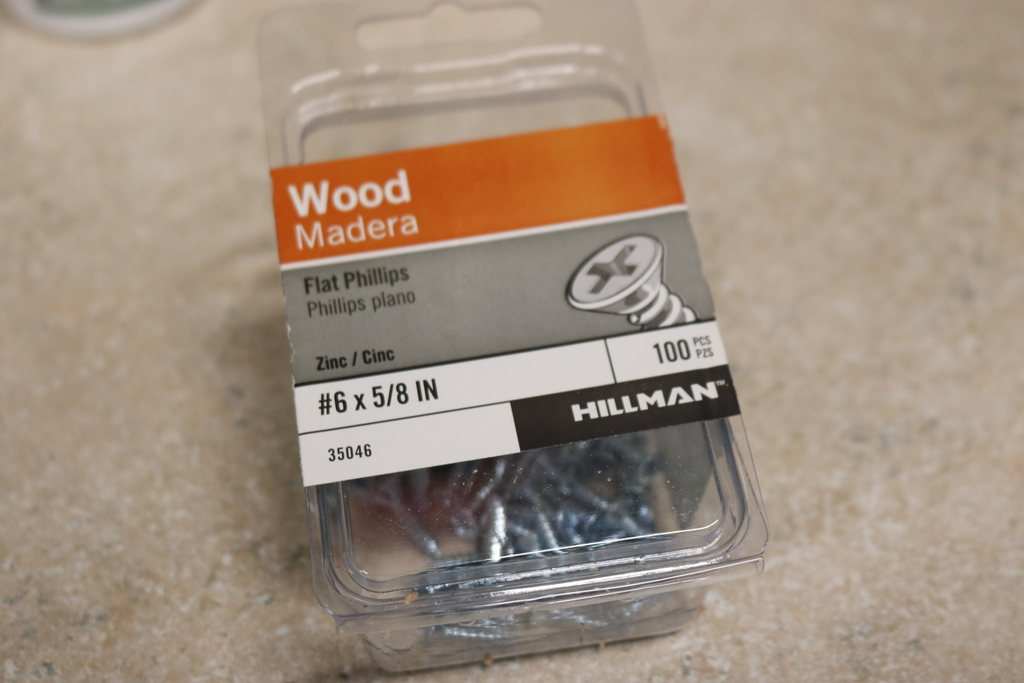
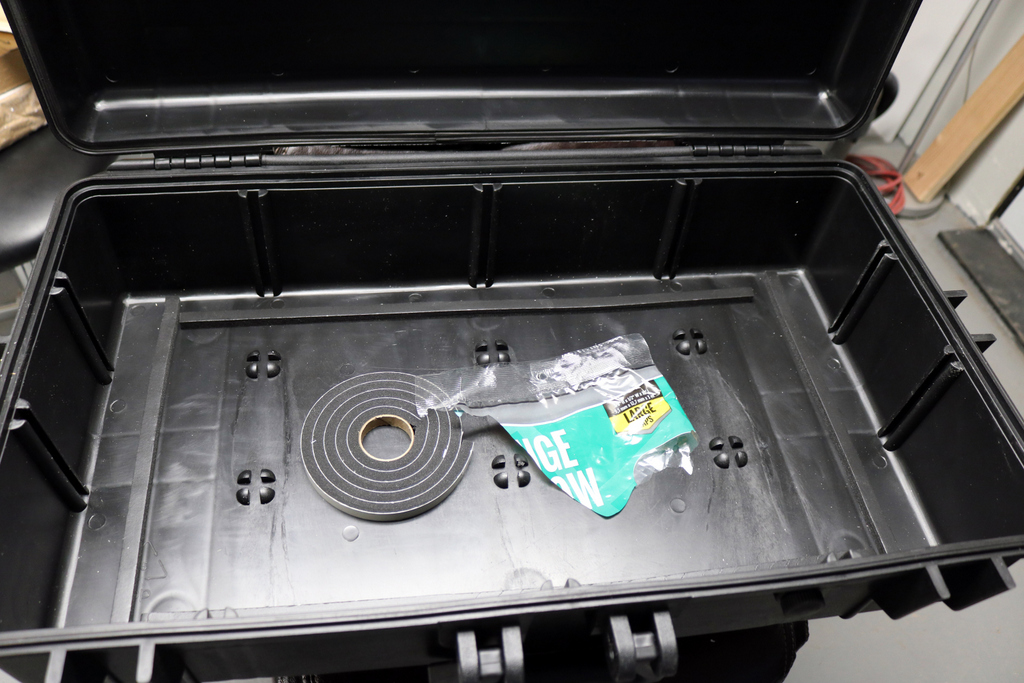
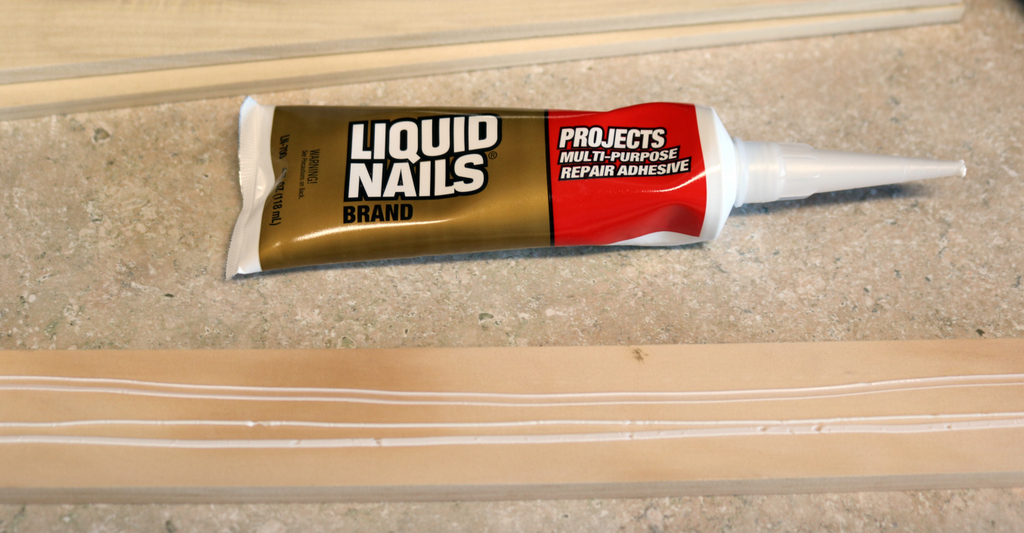
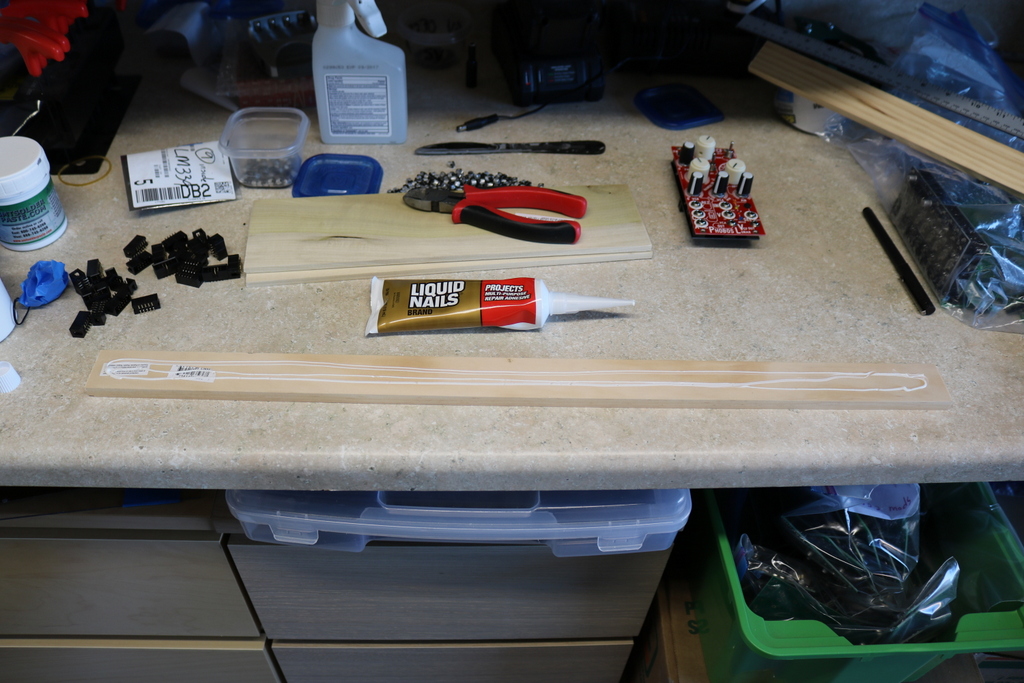
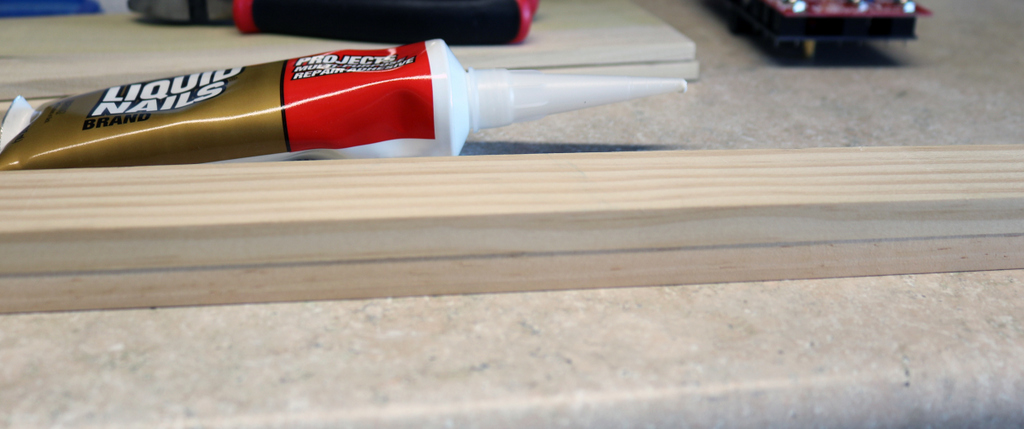
The only supplies I used was drill bits, a cheap harbor freight power drill ($30.00), skinny wood screws, and something called LIQUID NAILS (buy at lowes also). Here is a picture of liquid nails and the screws I used.
The only supplies I used was drill bits, a cheap harbor freight power drill ($30.00), skinny wood screws, and something called LIQUID NAILS (buy at lowes also). Here is a picture of liquid nails and the screws I used.

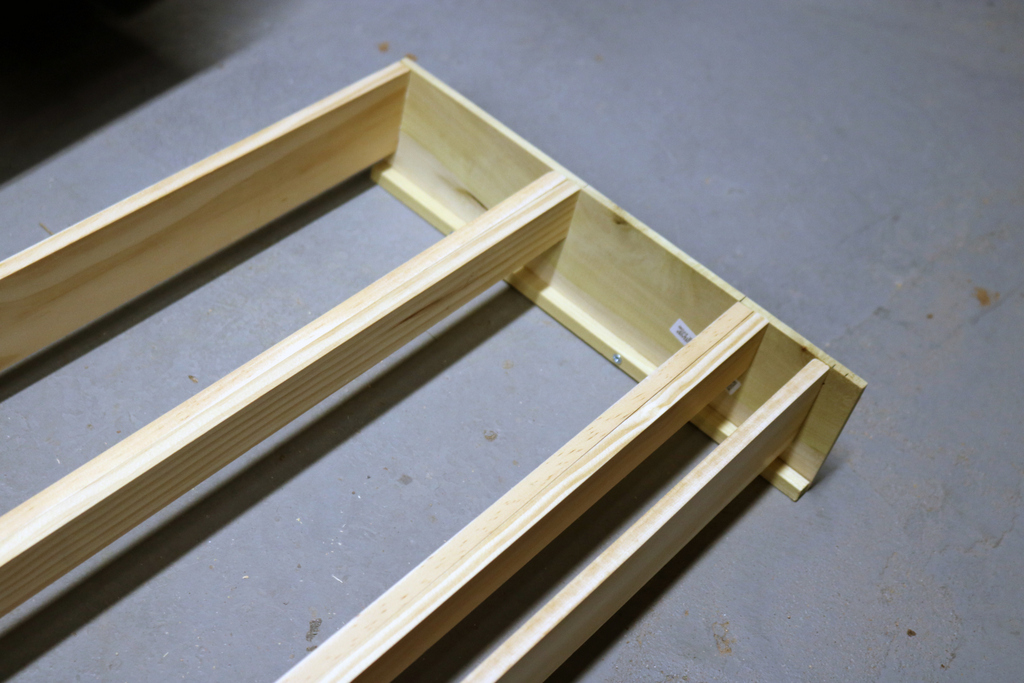
For my build I cut my wood rails 24 inches long. If you don't have anything to cut the wood pieces, lowes has a cutting table where you use a hand saw or you might get help and have them cut it for you. I own a miter saw, so it was easy for me.
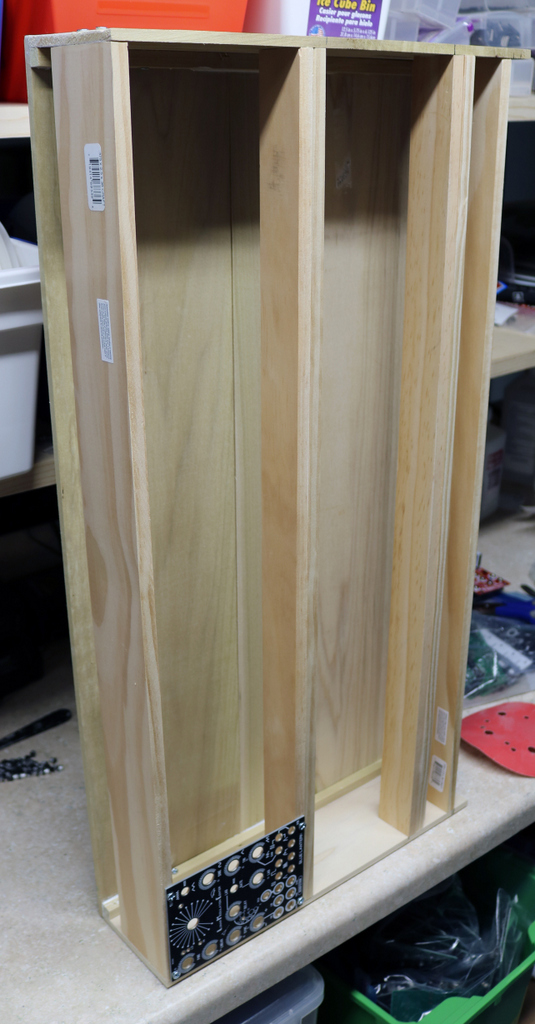
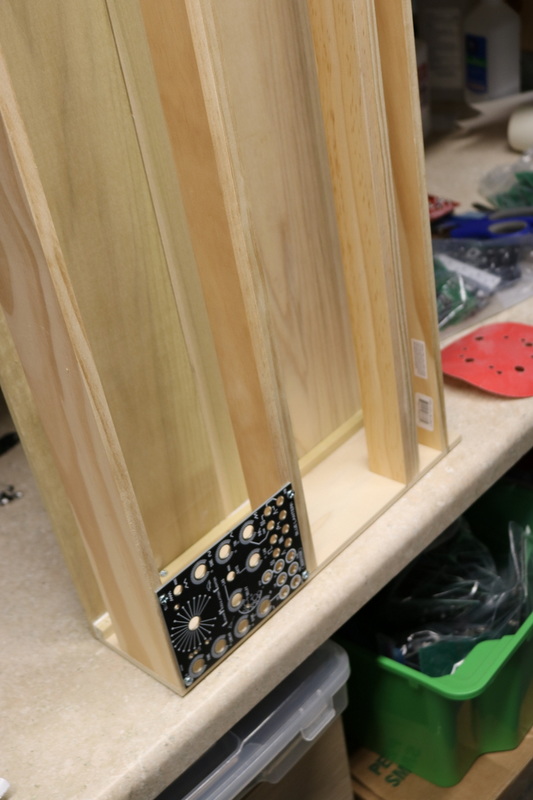
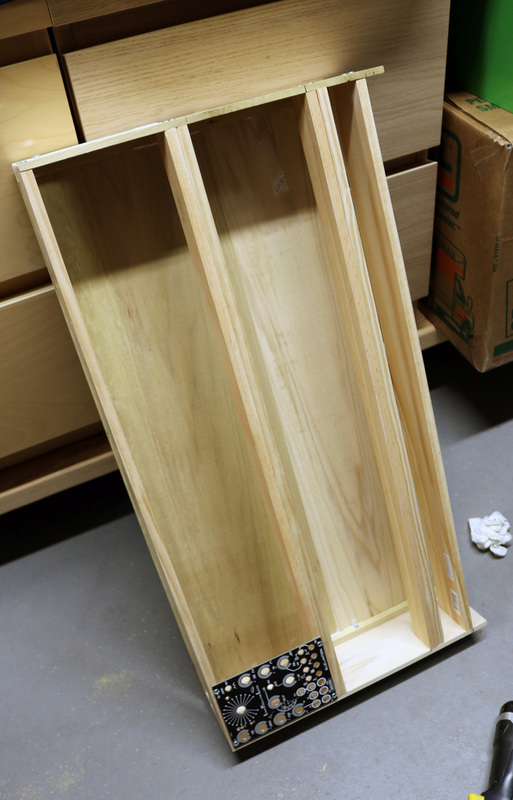
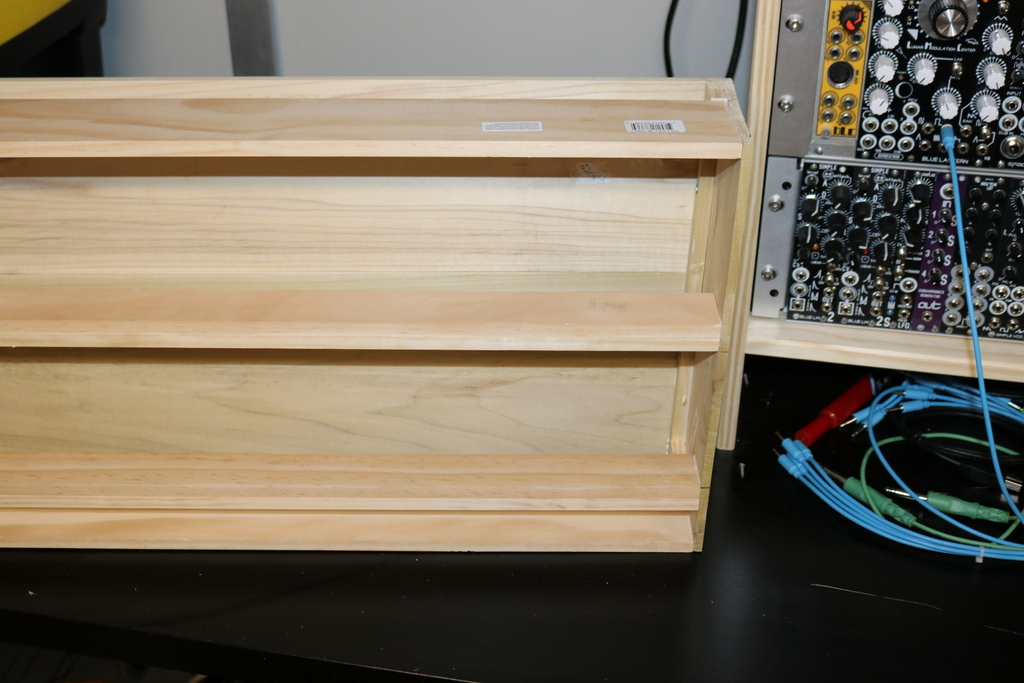
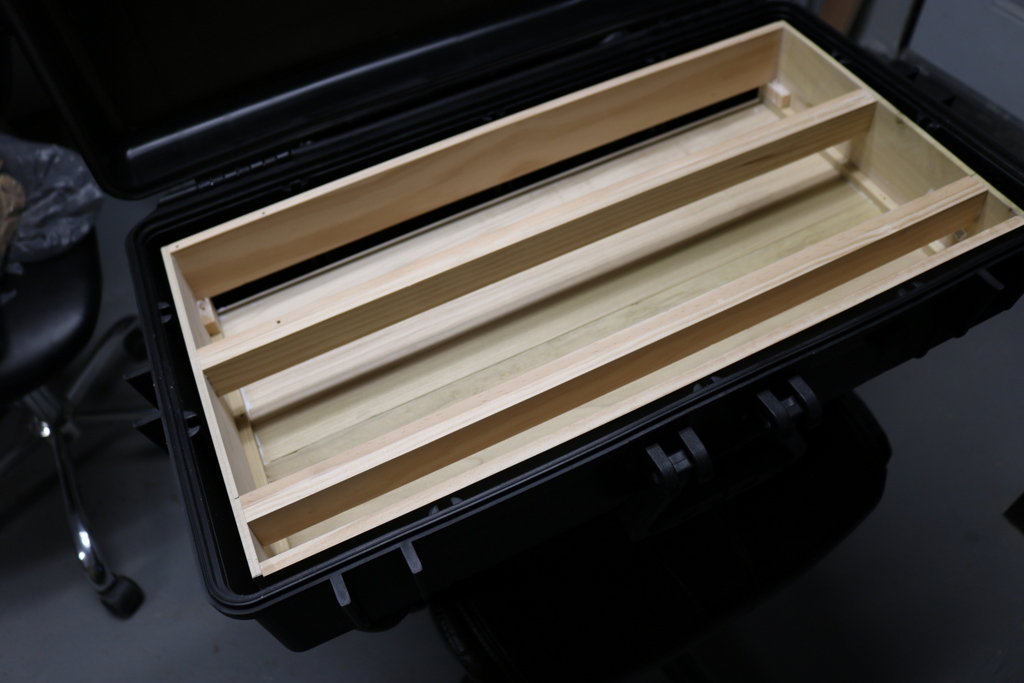
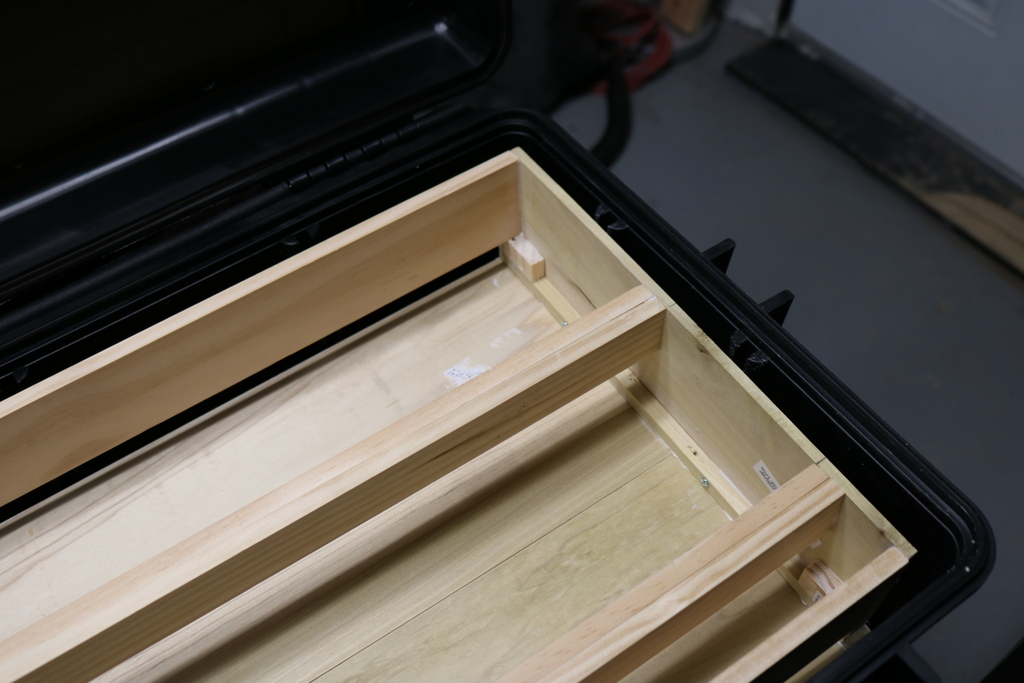
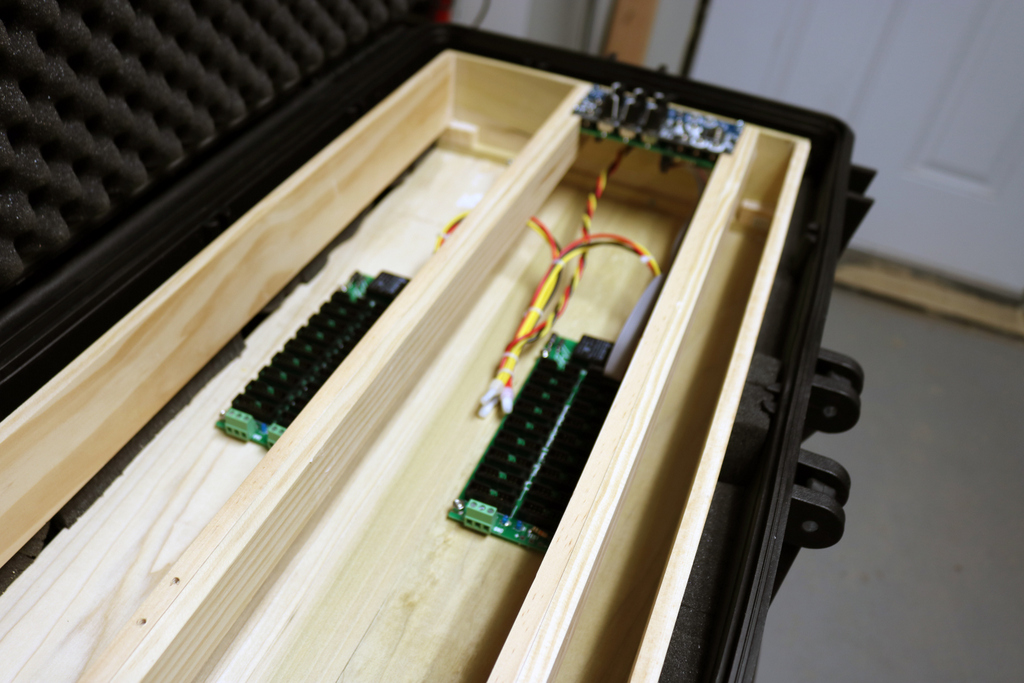
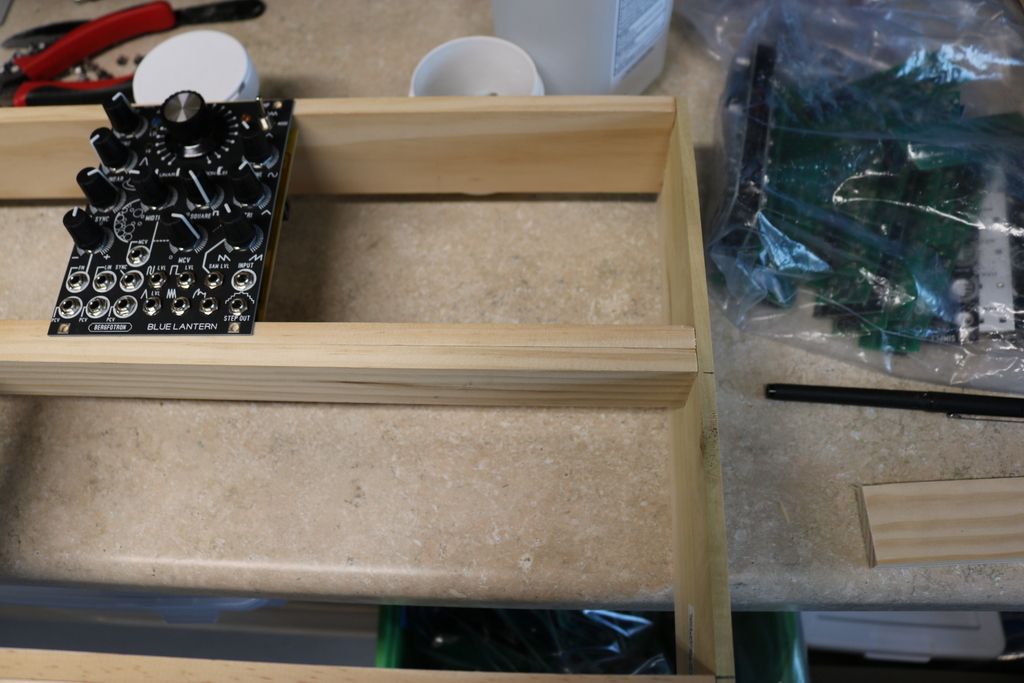
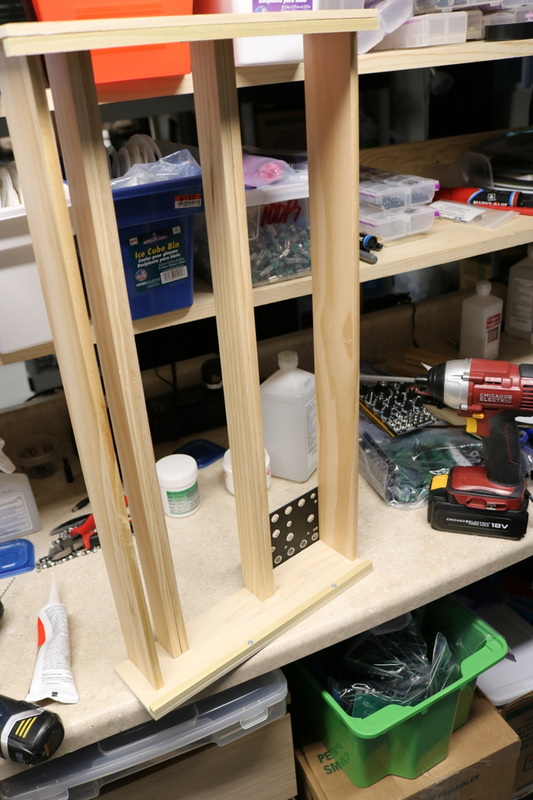
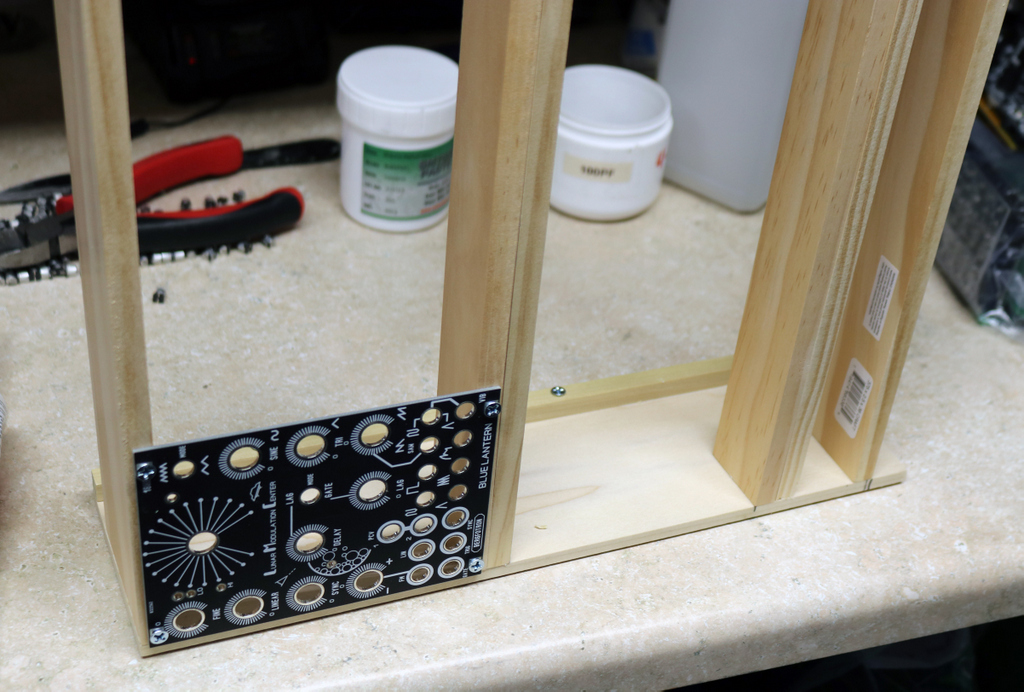
Here are my cuts, glued together and held for drying. This particular picture on the bottom is for the double rails in the center area of my case.
Here are my cuts, glued together and held for drying. This particular picture on the bottom is for the double rails in the center area of my case.

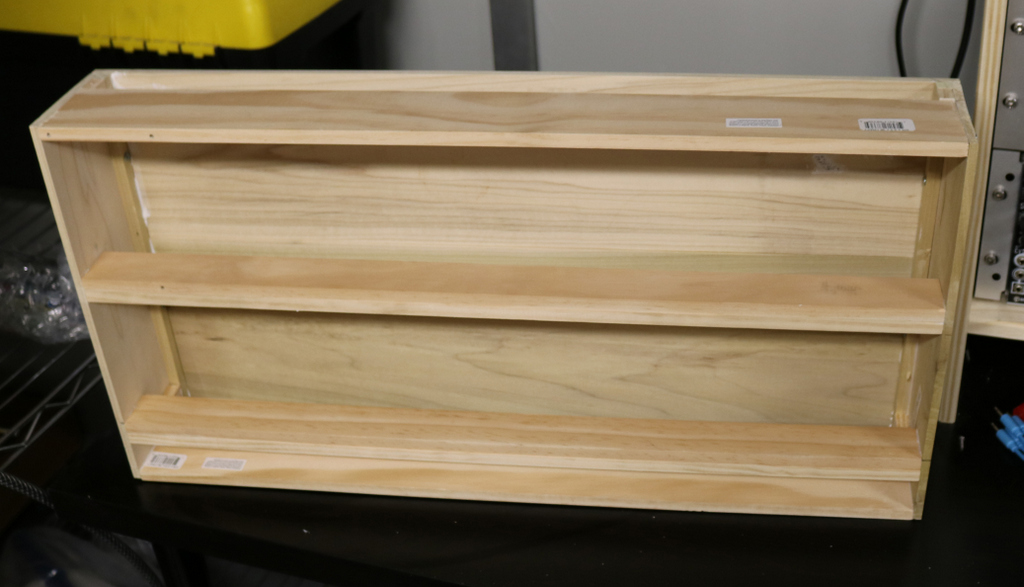
4.5" roughly is what I measured between the 3U wood rails. The bottom 1U was roughly 1.25" wide in space.
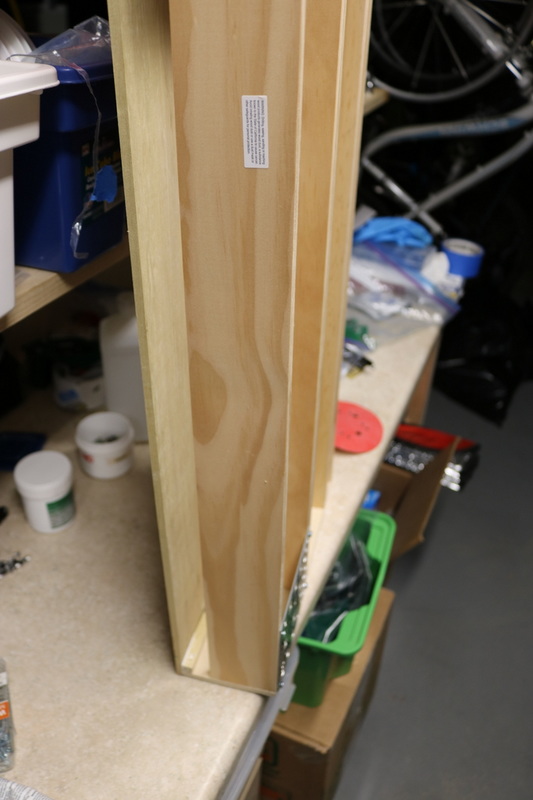
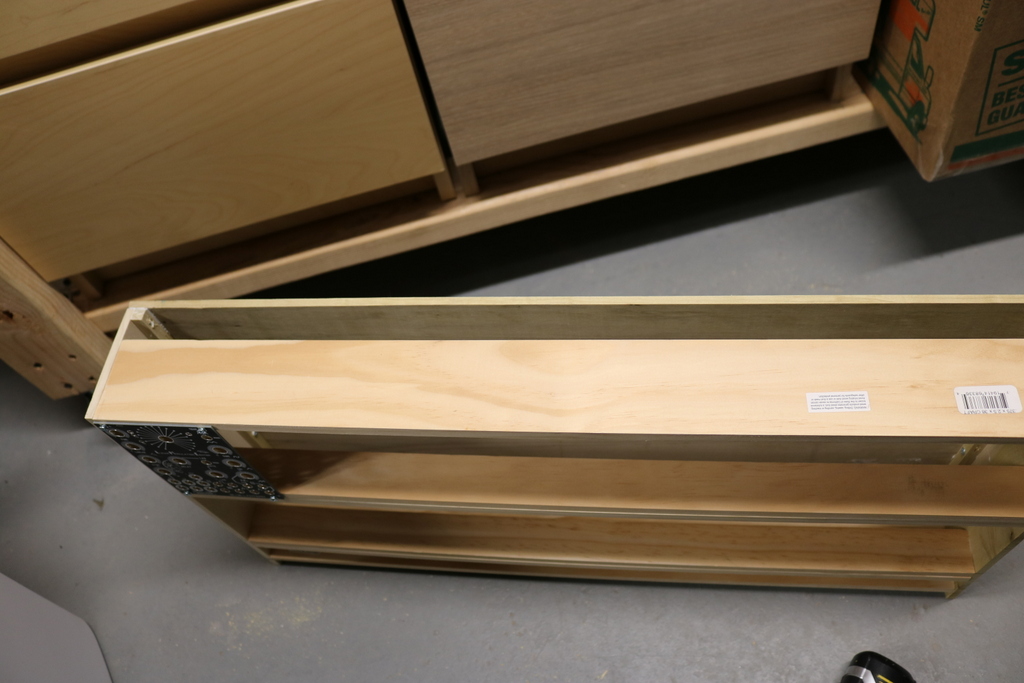
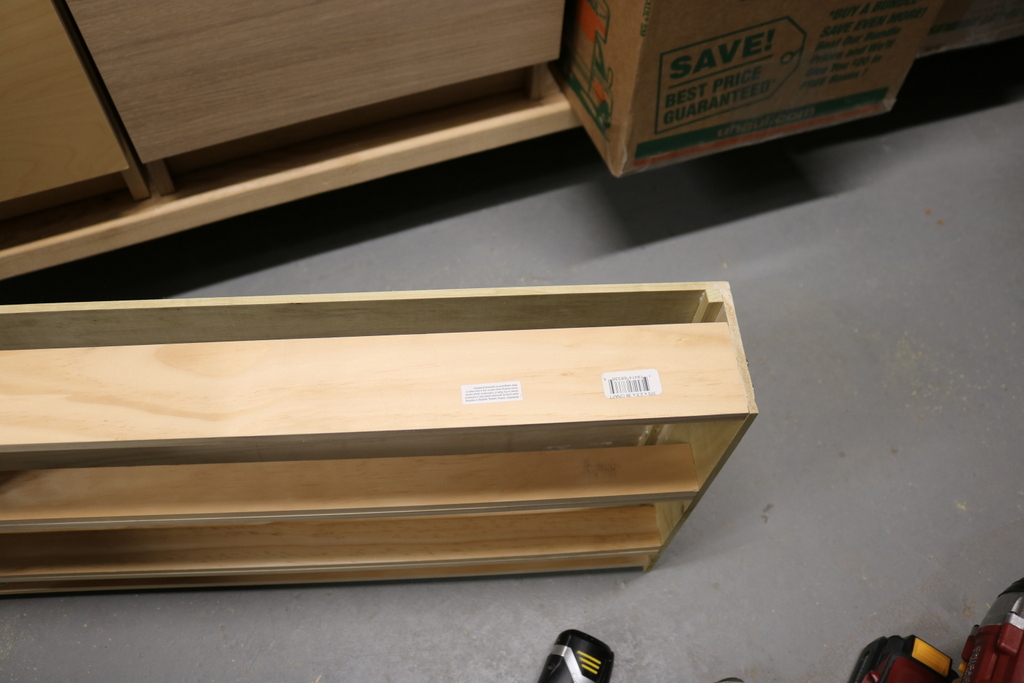
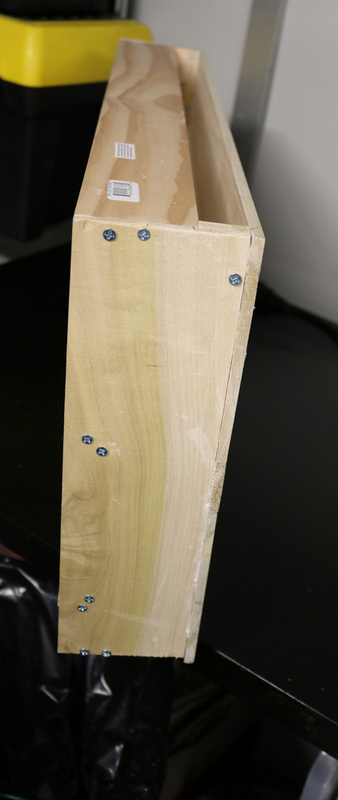
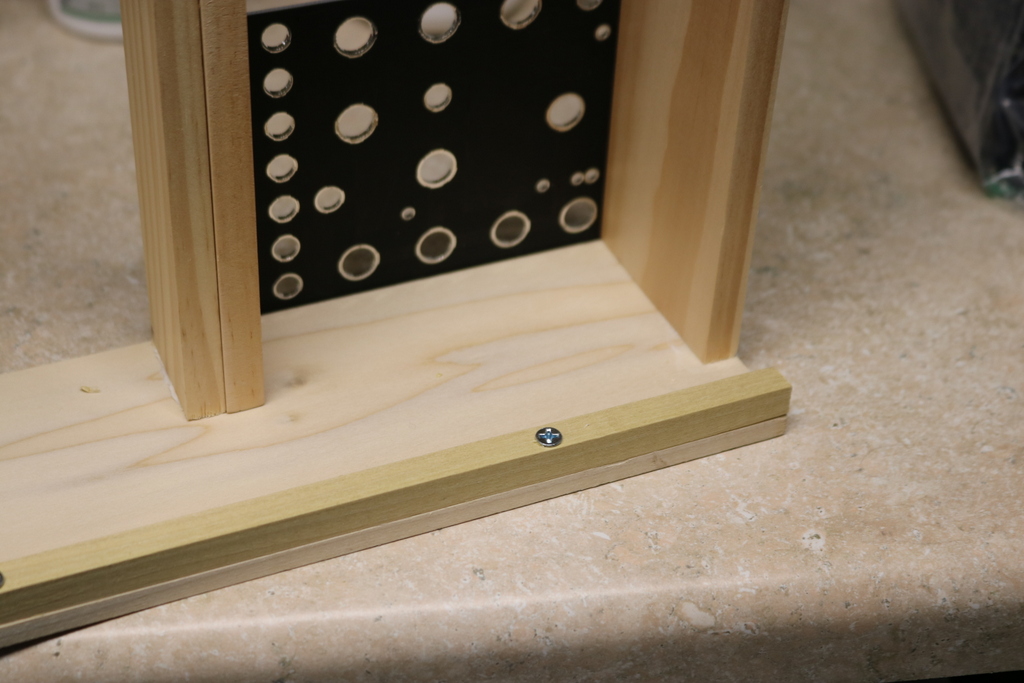
The side wood pieces on my build was 12.5". I added and used a square wood piece, also found at lowes to add more meat for the back board. Here is a picture of those square wood pieces and more pictures.
The back board legnth is 24.5" long for each of the three pieces I used. Those were not pine, but found right next to them. They have a greenish hue. You will need the longer version, not the 24" ones obviously. I believe they are 4 feet long. You will need to cut them down to 24.5" in legnth. They were about $8.00 each, so it was a bit pricey. You can use black mdf backboard, which is also found at lowes, but the piece is big and you will have to have them help you cut it to 24.5" x 12.5"


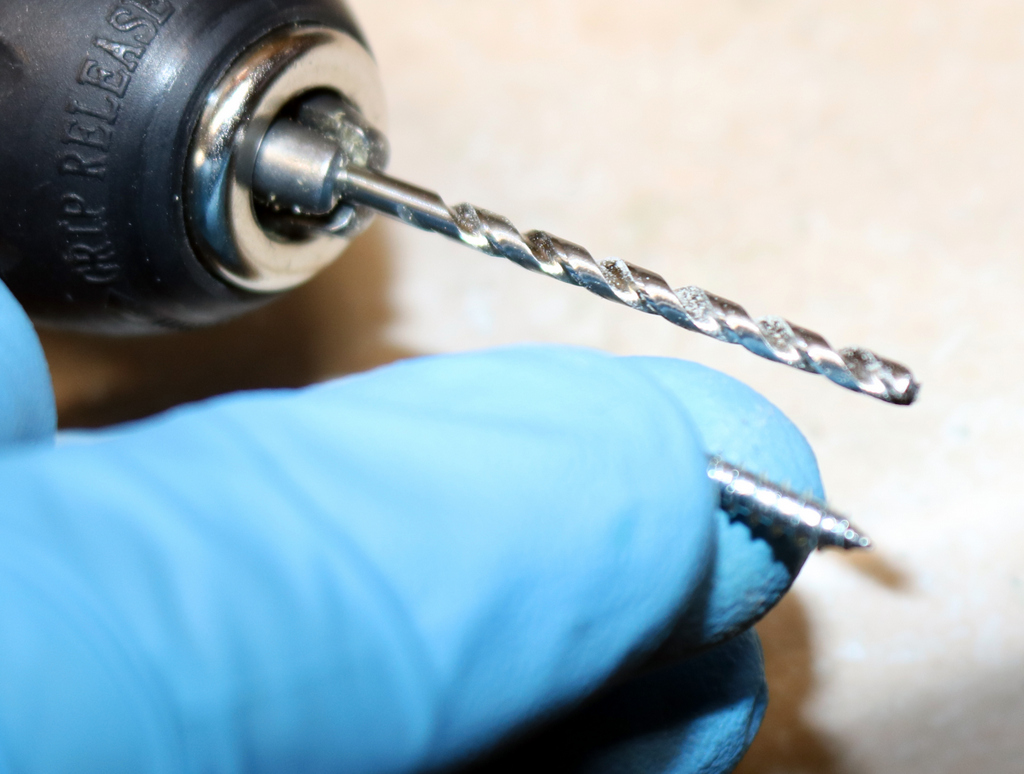
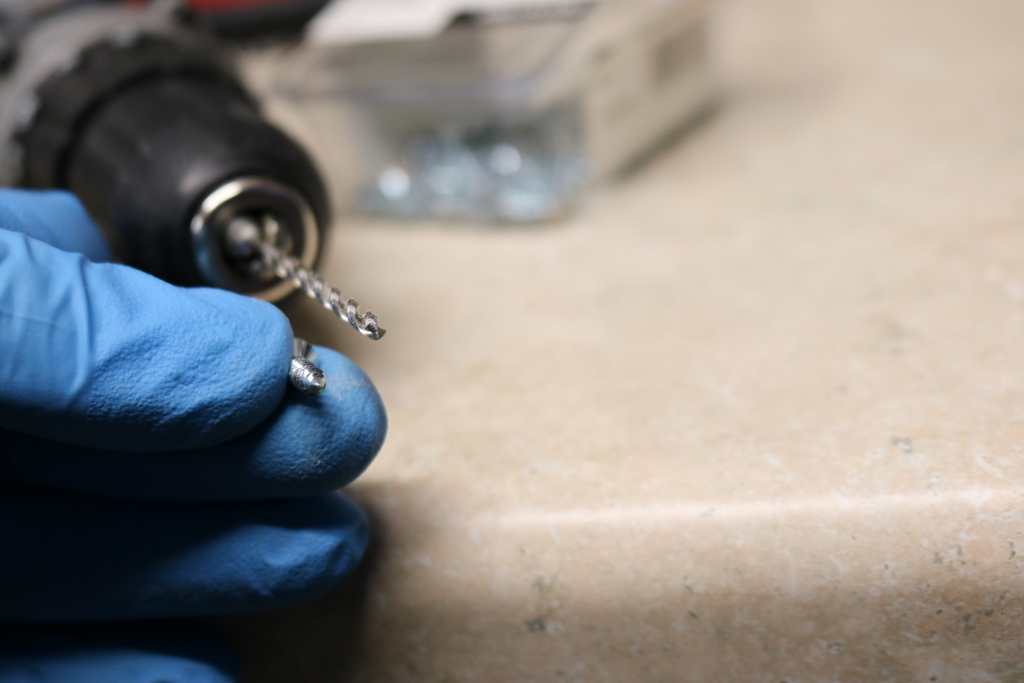
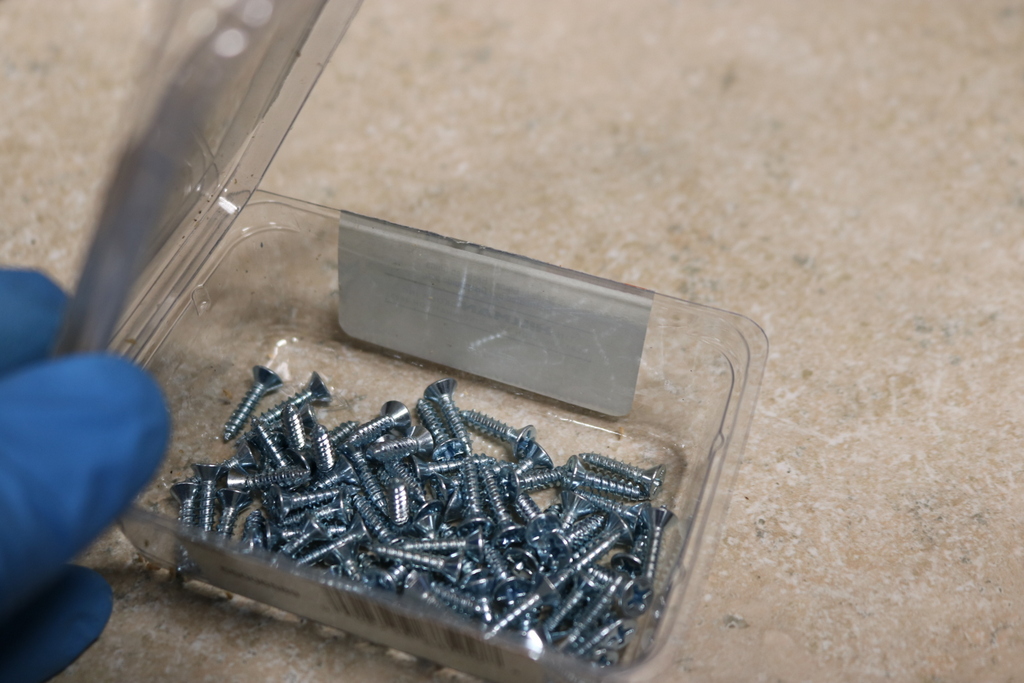
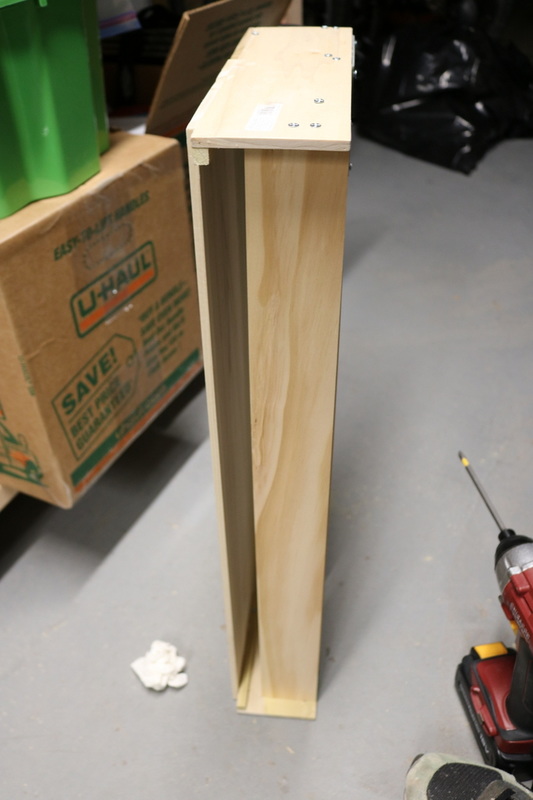
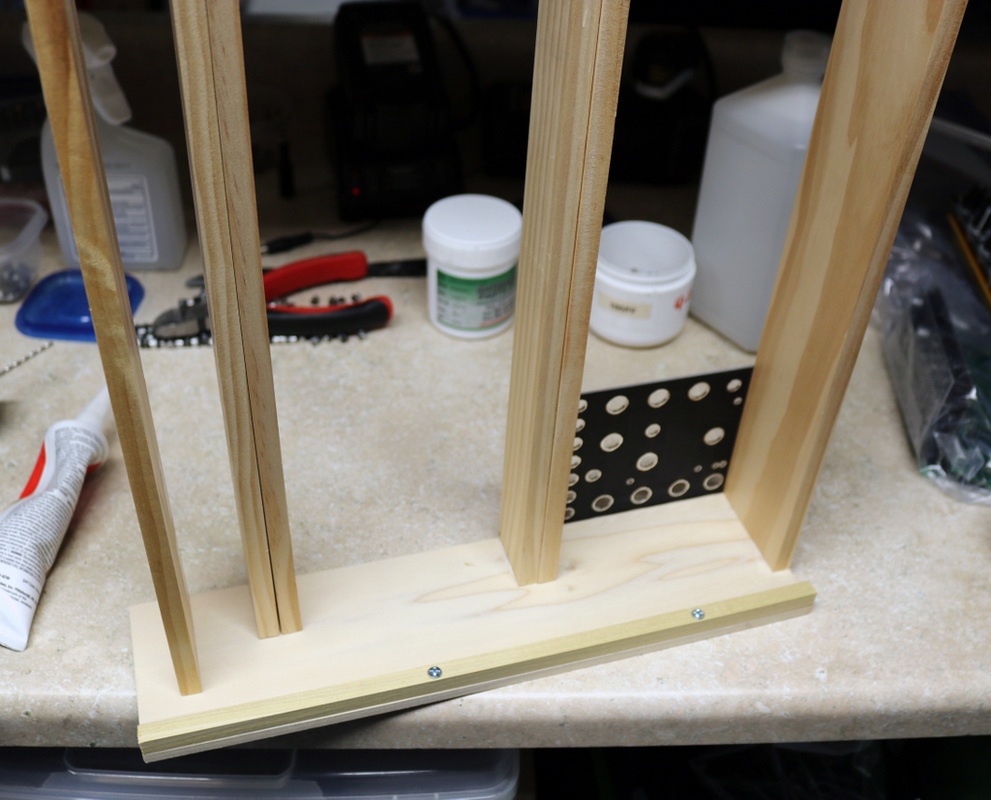
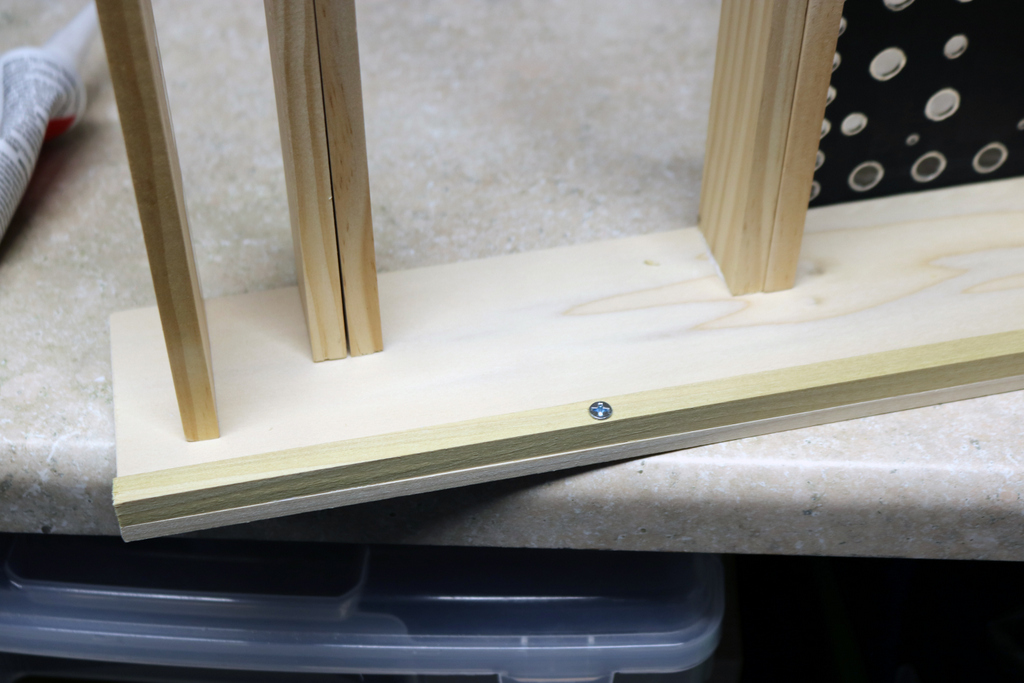
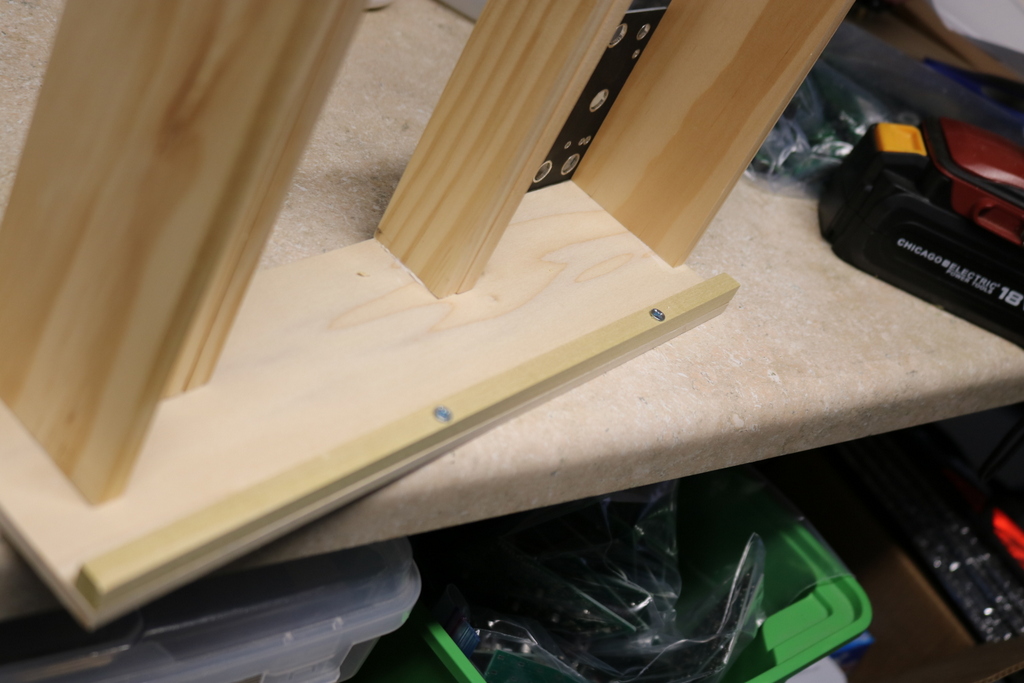
The way you assemble all of this is to use a smaller drill bit diameter than the screws I purchased like in these pictures.
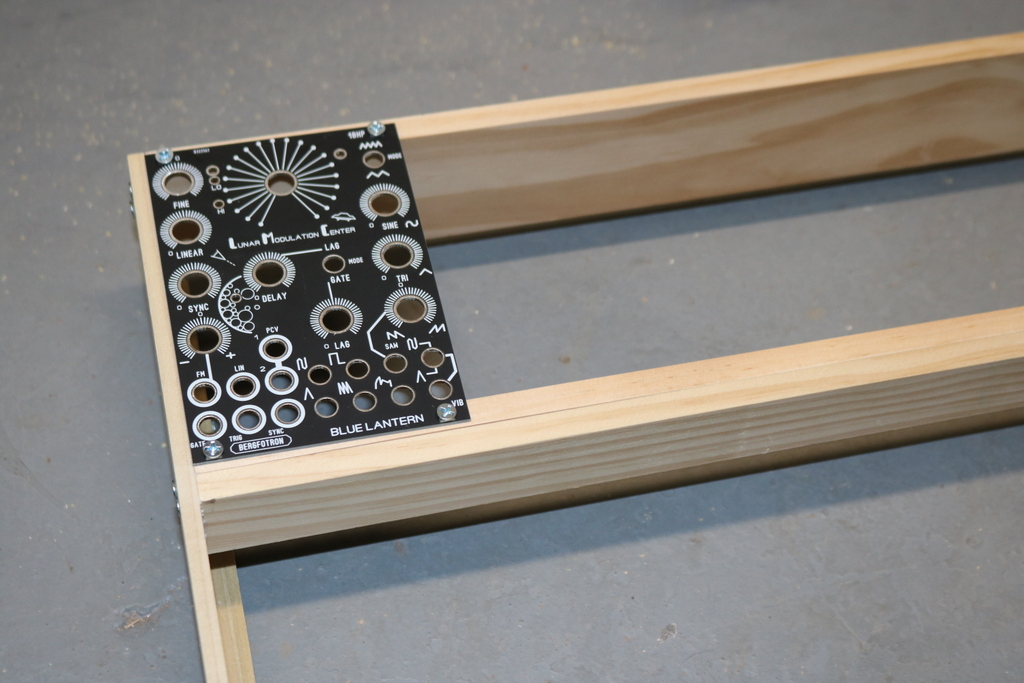
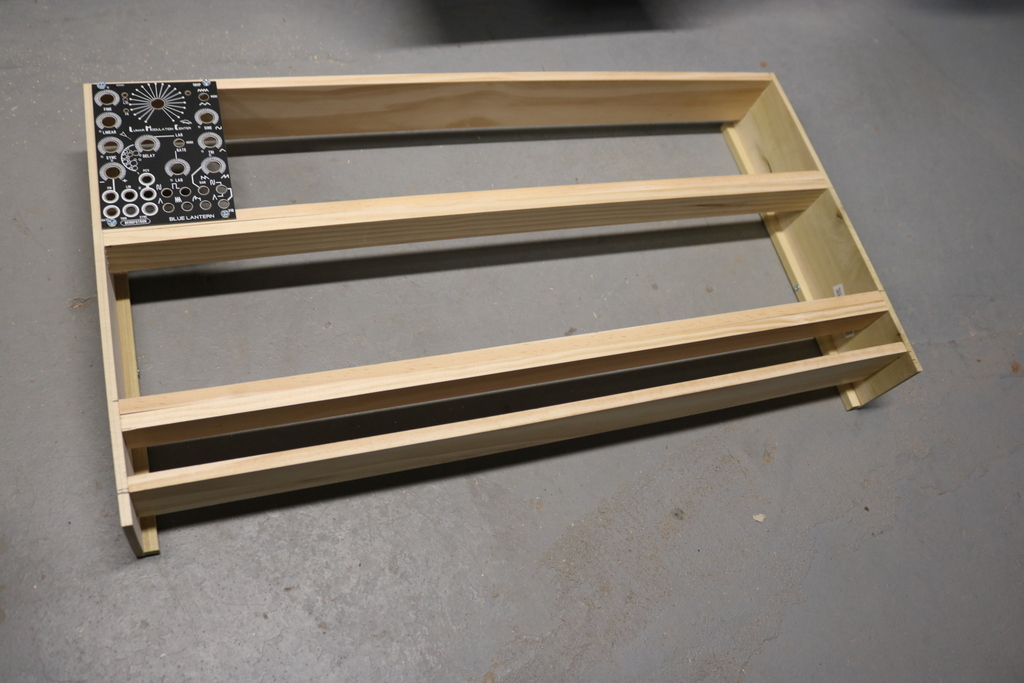
You want to use a combination of liquid nails glue, drill pilot holes (guide holes), and use a hand screw driver to carefully install some screws to hold everything together so it dries and hardens. If you happen to split wood, use the liquid nails to repair your wood. You can also use the glue on small gaps to seal. The glue is paintable according to the label. Patience is key to assembling your wood case. If you happen to have blank panels, it really helps to use them to double check your rail heights.
You want to use a combination of liquid nails glue, drill pilot holes (guide holes), and use a hand screw driver to carefully install some screws to hold everything together so it dries and hardens. If you happen to split wood, use the liquid nails to repair your wood. You can also use the glue on small gaps to seal. The glue is paintable according to the label. Patience is key to assembling your wood case. If you happen to have blank panels, it really helps to use them to double check your rail heights.
I did not paint my wood frame, but the fastest way with good enough results is spray paint. Just chose your color at lowes.
When installing your modules on the wood rails, the best method is to use a sharpie marker to mark the holes and use the pilot drill bit to start the hole, then by hand install the wood screws. If you think those wood screws are too big, they do have skinnier screws at lowes. Kind of like how M3 and M2.5 screws are to euro format rails.
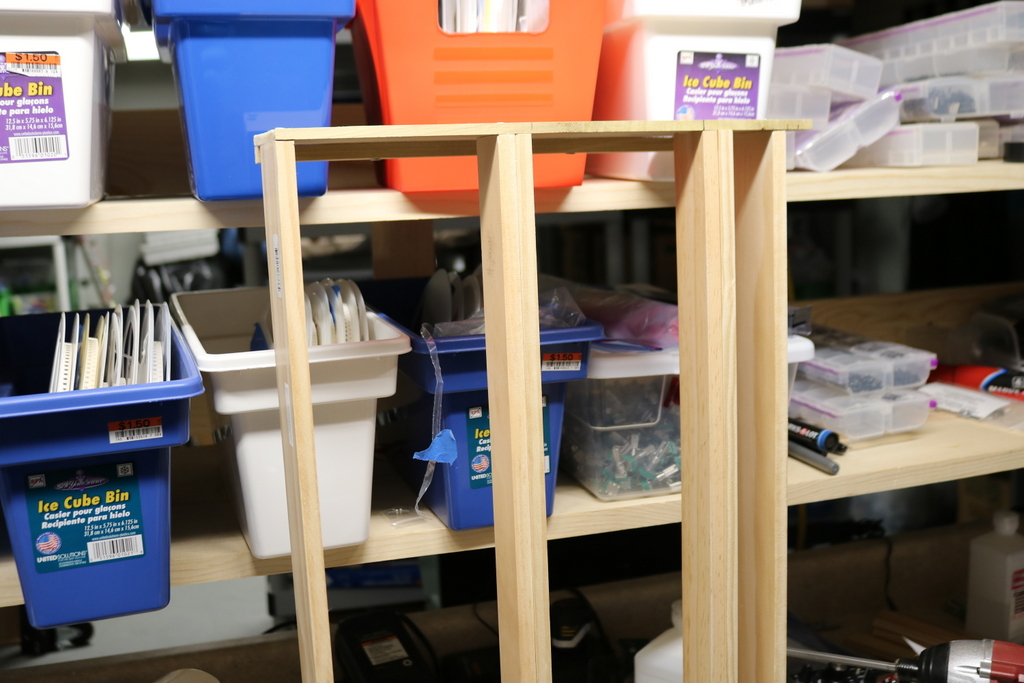
Okay here is the dump of all the pictures to my build:
When installing your modules on the wood rails, the best method is to use a sharpie marker to mark the holes and use the pilot drill bit to start the hole, then by hand install the wood screws. If you think those wood screws are too big, they do have skinnier screws at lowes. Kind of like how M3 and M2.5 screws are to euro format rails.
Okay here is the dump of all the pictures to my build:


Here is the quick builders summary of my project.
-wood rails cut to 24" long. 2 wider pieces to somewhat cover the top and bottom of case sides. Inner thinner pieces are used for power connector clearance. All of these are same thickness very similar to Euro format rail.
-wood sides cut to 12.5" long. The wood width piece is about 4 inches.
-wood bottom back board pieces are cut 24.5" long, if you use a 1 piece back board, cut to 12.5" x 24.5"
-wood square piece is cut also to 12.5". This gives more meat and strength on the build.
Use screws, liquid nails, drill bit, and hand saw or have lowes cut it for you.
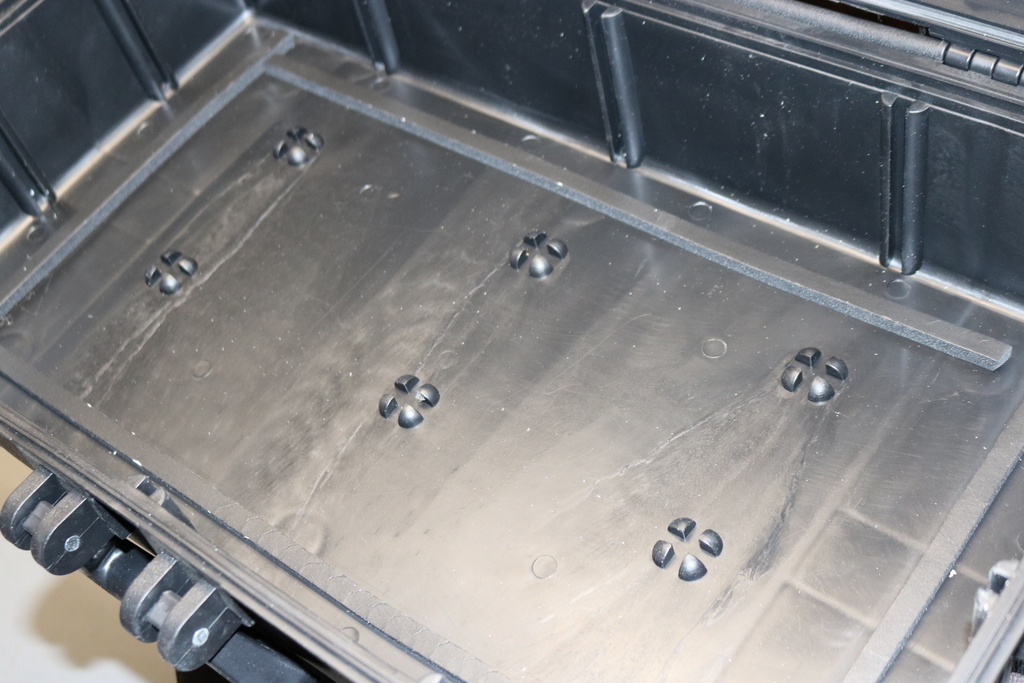
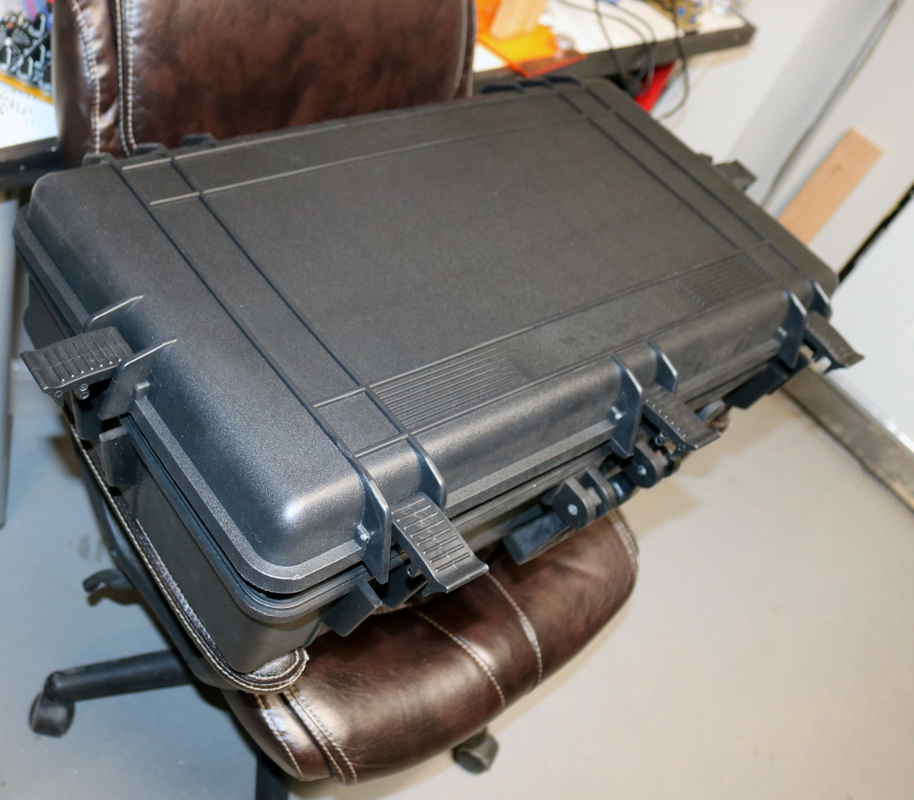
Purchase mcmelectronics abs plastic case to fit the wood frame.
Item:
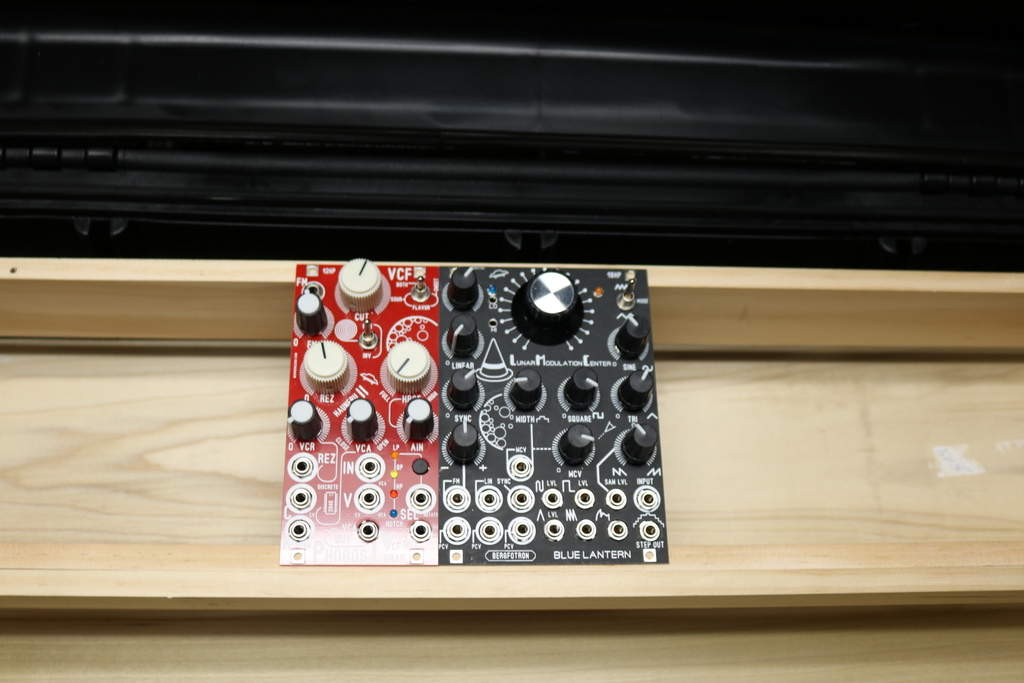
Let me answer questions about my particular build.
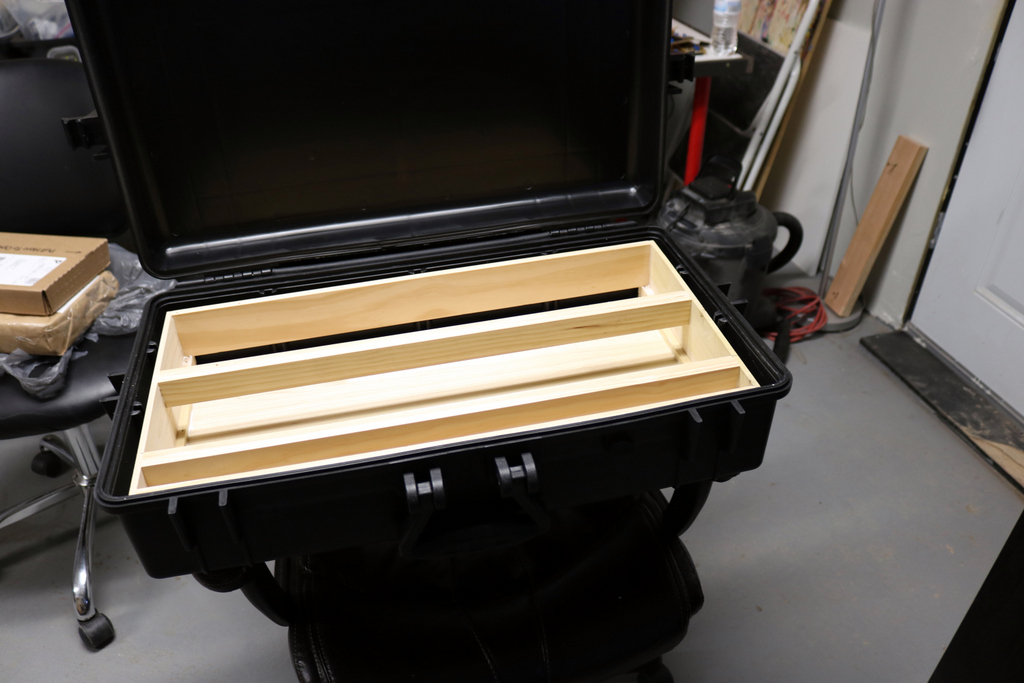
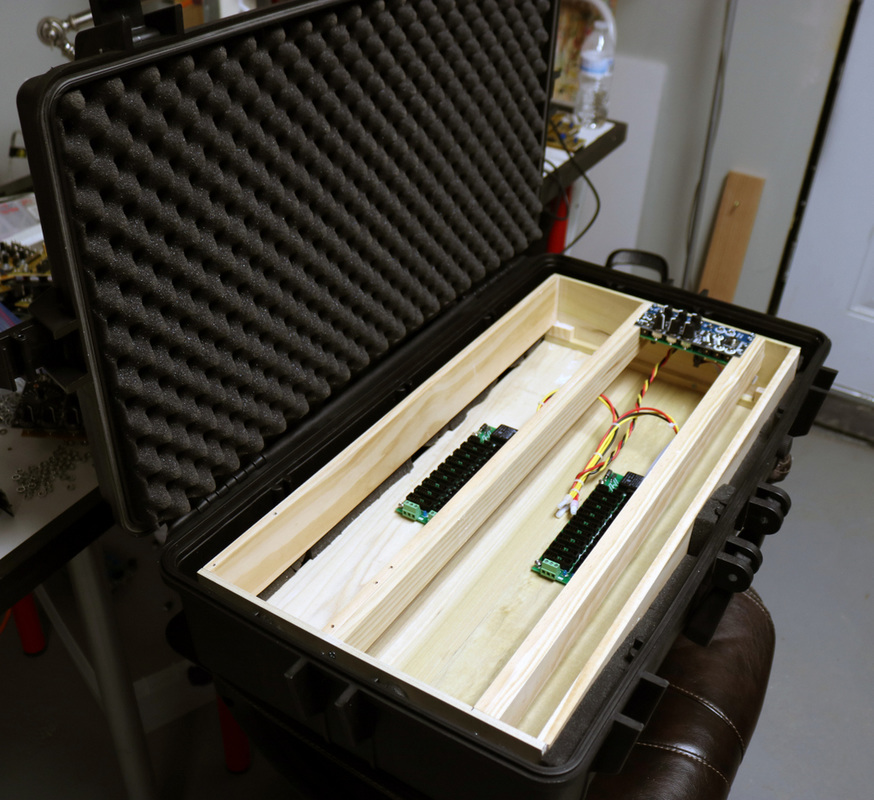
The lid can close with patch cables still intact.
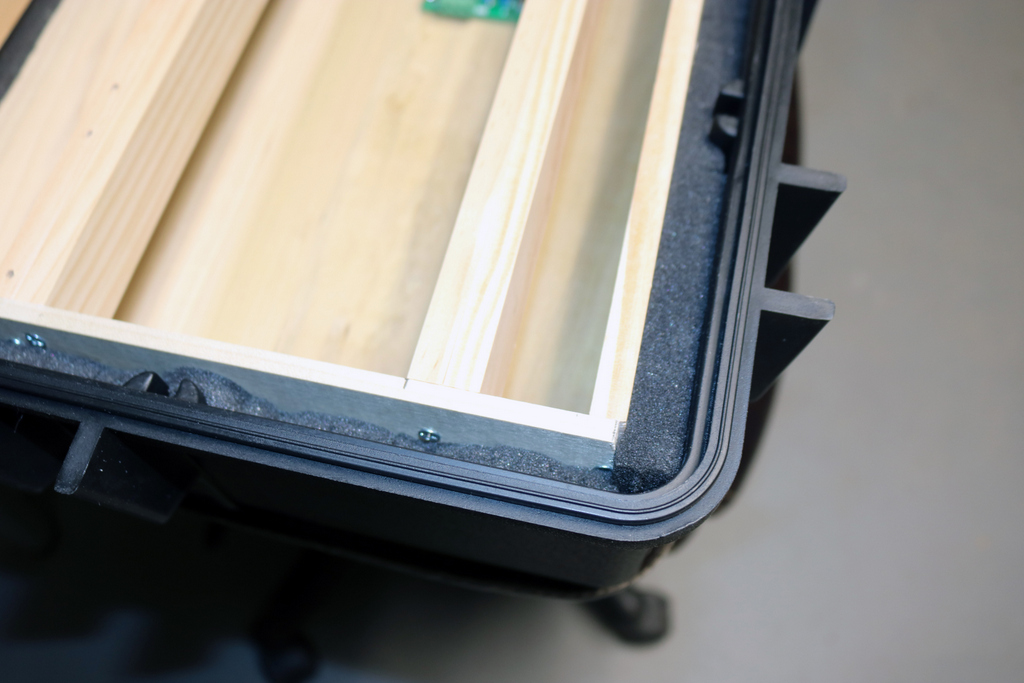
The wood frame does not move much, it is tight fit and snug. No travel at all, perfect for airplanes.
It is possible to purchase hinges to make the top abs plastic lid removable. I did not need this, so I don't have a part number.
Grand total cost is under $200.00. Just the wood project is about $40.00. So those on a really tight bugdet, you can use a combination of IKEA wood raster, and lowes wood 'ghetto' rails.
For the power supply, and rails. I would like to recommend, 4ms, and or synthrotek. These companies have them ready to go. I unfortunately don't stock massive amounts of power and/or buss strips.
For this particular build I would not advise linear wall transformer based power supplies. They will not fit, and it is a life threathening hazzard because of the bare wires very close to the user. There is only 4 inches height clearance!
Nothing wrong with a DC-DC converter for this build.
Enjoy.
-wood rails cut to 24" long. 2 wider pieces to somewhat cover the top and bottom of case sides. Inner thinner pieces are used for power connector clearance. All of these are same thickness very similar to Euro format rail.
-wood sides cut to 12.5" long. The wood width piece is about 4 inches.
-wood bottom back board pieces are cut 24.5" long, if you use a 1 piece back board, cut to 12.5" x 24.5"
-wood square piece is cut also to 12.5". This gives more meat and strength on the build.
Use screws, liquid nails, drill bit, and hand saw or have lowes cut it for you.
Purchase mcmelectronics abs plastic case to fit the wood frame.
Item:
- MCM Part #22-24155
Let me answer questions about my particular build.
The lid can close with patch cables still intact.
The wood frame does not move much, it is tight fit and snug. No travel at all, perfect for airplanes.
It is possible to purchase hinges to make the top abs plastic lid removable. I did not need this, so I don't have a part number.
Grand total cost is under $200.00. Just the wood project is about $40.00. So those on a really tight bugdet, you can use a combination of IKEA wood raster, and lowes wood 'ghetto' rails.
For the power supply, and rails. I would like to recommend, 4ms, and or synthrotek. These companies have them ready to go. I unfortunately don't stock massive amounts of power and/or buss strips.
For this particular build I would not advise linear wall transformer based power supplies. They will not fit, and it is a life threathening hazzard because of the bare wires very close to the user. There is only 4 inches height clearance!
Nothing wrong with a DC-DC converter for this build.
Enjoy.
Now that you built your DIY Case, how about a DIY Braids? This is a modified version of the Mutable Instruments Braids. Below are the pcb files so that you can order your own and give it a try. The parts used are the same.
UPDATE: I recently added an Enhanced DIY Yarns, RINGS, GRAINS, and WARPS below.
***********************************************************************************************************************************
The files below are free to download and comply to the cc-by-sa license. The work below is cc-by-sa Flavio Mireles /
Olivier Gillet specifically.
You are free to download, change, edit, remix, remaster, etc. the files below. For more information visit the cc-by-sa organization.
Below is the Euro Rack Braids files:
| public-mk2-macro_vco-v1.4.zip |
Here is a DIY Enhanced Midi to CV converter based on the Yarns Module by Émilie Gillet. (Confirmed March-28-2017 Works!)
I also included large pcb pics so you can see the parts involved.
I also included large pcb pics so you can see the parts involved.
| enhanced_diy_yarns_project_v2.5f.zip |
| diy_midi_to_voltage-yarns_pics.zip |
| build_help_midi_to_cv_module.zip |
Here is a 12hp version of DIY Rings Module by Émilie Gillet. (Confirmed Aug 7 2017 Works!)
This Project is retired and not recommended to build, as of July 12 2020. There is a replacement project at the bottom.
This Project is retired and not recommended to build, as of July 12 2020. There is a replacement project at the bottom.
| public_diy_12hp-rings-1.3fx.zip |
| rings_pcb_pics_1.3f.zip |
| public_extf-g_rings_1.2f.zip |
Here is a 12hp version of DIY Warps Module by Émilie Gillet. (Confirmed Aug 30, 2017 Works!)
This Project is retired and not recommended to build, as of September 25 2020. There is a replacement project at the bottom.
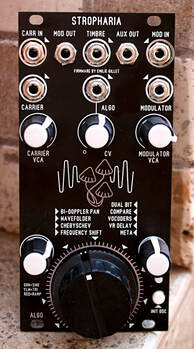
'Stropharia' is the replacement.
This Project is retired and not recommended to build, as of September 25 2020. There is a replacement project at the bottom.
'Stropharia' is the replacement.
| public-diy_warps_v1.3f.zip |
| warps-parasites_v1.01.zip |
Here is a 12hp version of DIY Grains Module. Firmware is by Émilie Gillet. This is using the Clouds Firmware. (Confirmed Sept 1, 2017 Works!) UPDATE*******1.4f Core and Control PCB has silkscreen corrections. The Panel PCB is still found on the first zip.
The 1.3F text file has the silkscreen correction values and mod improvements. It is an easy fix. 1.3F was still worthy. Use 1.4F for future orders.
The 1.3F text file has the silkscreen correction values and mod improvements. It is an easy fix. 1.3F was still worthy. Use 1.4F for future orders.
| public_folder_grains.zip |
| fixes_for_v1.3f.txt |
| public_grains_v1.4f.zip |
*Extrusion Format 7.5 Grains Table Top Files below.
| public_file-extf-7.5-5.5-grains-2.1.1ftx.zip |
Here is a 10hp Mini version of the Ornaments and Crime Module. This uses the same OLED screen.
| public-10hp_o_c_d-module_1.3f.zip |
Here is a Modified version of Peaks Module by Émilie Gillet. This version is known as 'BASICS'. It adds CV to each knob parameter. This is using the last Peaks Firmware created before being discontinued. This version does not have trimmers like the very first PEAKS PCB release. This has software based calibration.
| public_basics_v2f_peaks.zip |
This is the alternative Firmware by Tim Churches compiled into Hex format. You need an FTDI programmer to upload this.
This is version v0.7 Beta. Some stuff I noticed: LFO wave shapes have more Aliasing compared to OEM FIrmware Peaks 1.1. It does sound cool, but if you want perfection and smooth, the OEM Firmware v1.1 is for you.
This is version v0.7 Beta. Some stuff I noticed: LFO wave shapes have more Aliasing compared to OEM FIrmware Peaks 1.1. It does sound cool, but if you want perfection and smooth, the OEM Firmware v1.1 is for you.
| basics-peaks-dmc-v0.7_beta-firmware.zip |
Here is an alternate layout Grids, with Midi Input. This is the same HP as the original by Émilie Gillet.
| public-grids-v2.2f.zip |
Here is an alternative layout of the Plaits module in 0805 components size. This one is called Mycelium Synthesizer.
| public_file_-mycelium_synth-1.2.1f.zip |
2019 MK2 MACRO VCO Public files. This is an updated braids project I did recently.
| public-mk2-macro_vco.zip |
2019 10HP Midi to CV Module. Running Yarns Firmware. Stock Controls, no enhancements. (100% CONFIRMED)
| public-mtcv-v5-10hp_confirmed.zip |
2020 Tides v1. CYANESCENS VCO (Sheep Firmware)
| public_file_tides-version1-cyan-vco-v2.0.zip |
2020 Resonator Rings 12hp Euro Format Module. July 12 2020. Confirmed working. RINGS USE THIS ONE.
-has a mute output push button circuit.
-improved analog output signal path (parts and layout).
*NEW*
Led Resistor Optimized Zip helps you optimize the brightness for generic Dual Color LED's.
Add these to your BOM: (2 QTY) 150 ohm 0805 resistors, (2 QTY) 390 ohm 0805 resistors, (1 QTY) 2K 0805 resistor. All %1.
| public_file-2020-resonator-rings_v2.0.zip |
| led_resistor_values_optimized.zip |
2020 Stropharia 12hp Euro Format Module. Loaded with Warps Firmware. Panels Graphics are ready for Parasites Warps firmware. WARPS USE THIS ONE>.
| public-file-stropharia-v1.0.1.zip |
2021 Grids MK2. 12hp slimmer version.
| public-grids-mk2-v1.2f_2021.zip |
2022 Open Source Mutable Instrument Blades Dual MultiMode VCF by Émilie Gillet.
Soic and 0805 size smt parts used. mini toggle switch used, no indication led. Only 2 Audio Signal indicator LED's are used.
The fancy resistors have to be 0.1% Precision.
Do not use SSI2164 quad vca, not compatible.
AS2164 or V2164 SOIC work fine.
TL074 and TL072, LF353 and LF347 work fine. OPA1678 and OPA1679(QUAD) work fine.
For the small plastic potentiometers, 10K B linear and 100k B linear values worked. Either one is fine.
Shape Wave Folder Potentiometer is 10KA Audio Taper, you need (2) Pieces. All other potentiometers are 10K B Linear type.
Toggle switch is your normal on-on mini toggle type.
LED's are 3mm size.
Parallax Filter Module.
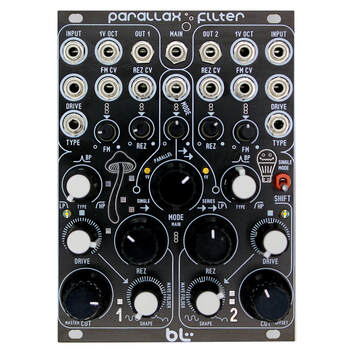
| public_file-pax_dual_vcf-1.2.zip |
| help_resistor_presicion.zip |
6hp Single Channel Blades Filter.
| public_6hp_pf_blades-v1.2.2.zip |